今回前回まで解説していたPremiere Proの「ディストーション」の「Lens Distortion」について使い方をまとめていきます。
「ビデオエフェクト-ディストーション」
今回は「ビデオエフェクト」の中にある「ディストーション」の「Lens Distortion」の一覧を解説していきます。
「Lens Distortion」はエフェクトをかけたアイテムに対して、魚眼レンズで撮影したような雰囲気にするエフェクトとなります。
「Lens Distortion」
「Lens Distortion」は「ビデオエフェクト」の「ディストーション」の中にあります。
「Lens Distortion」は「curvature」「Vertical Decentering」「Horizontal Decentering」「vertical Prism FX」「Horizontal Prism FX」の設定項目があり、値を変えることでアイテムの雰囲気や配置を変更することができます。
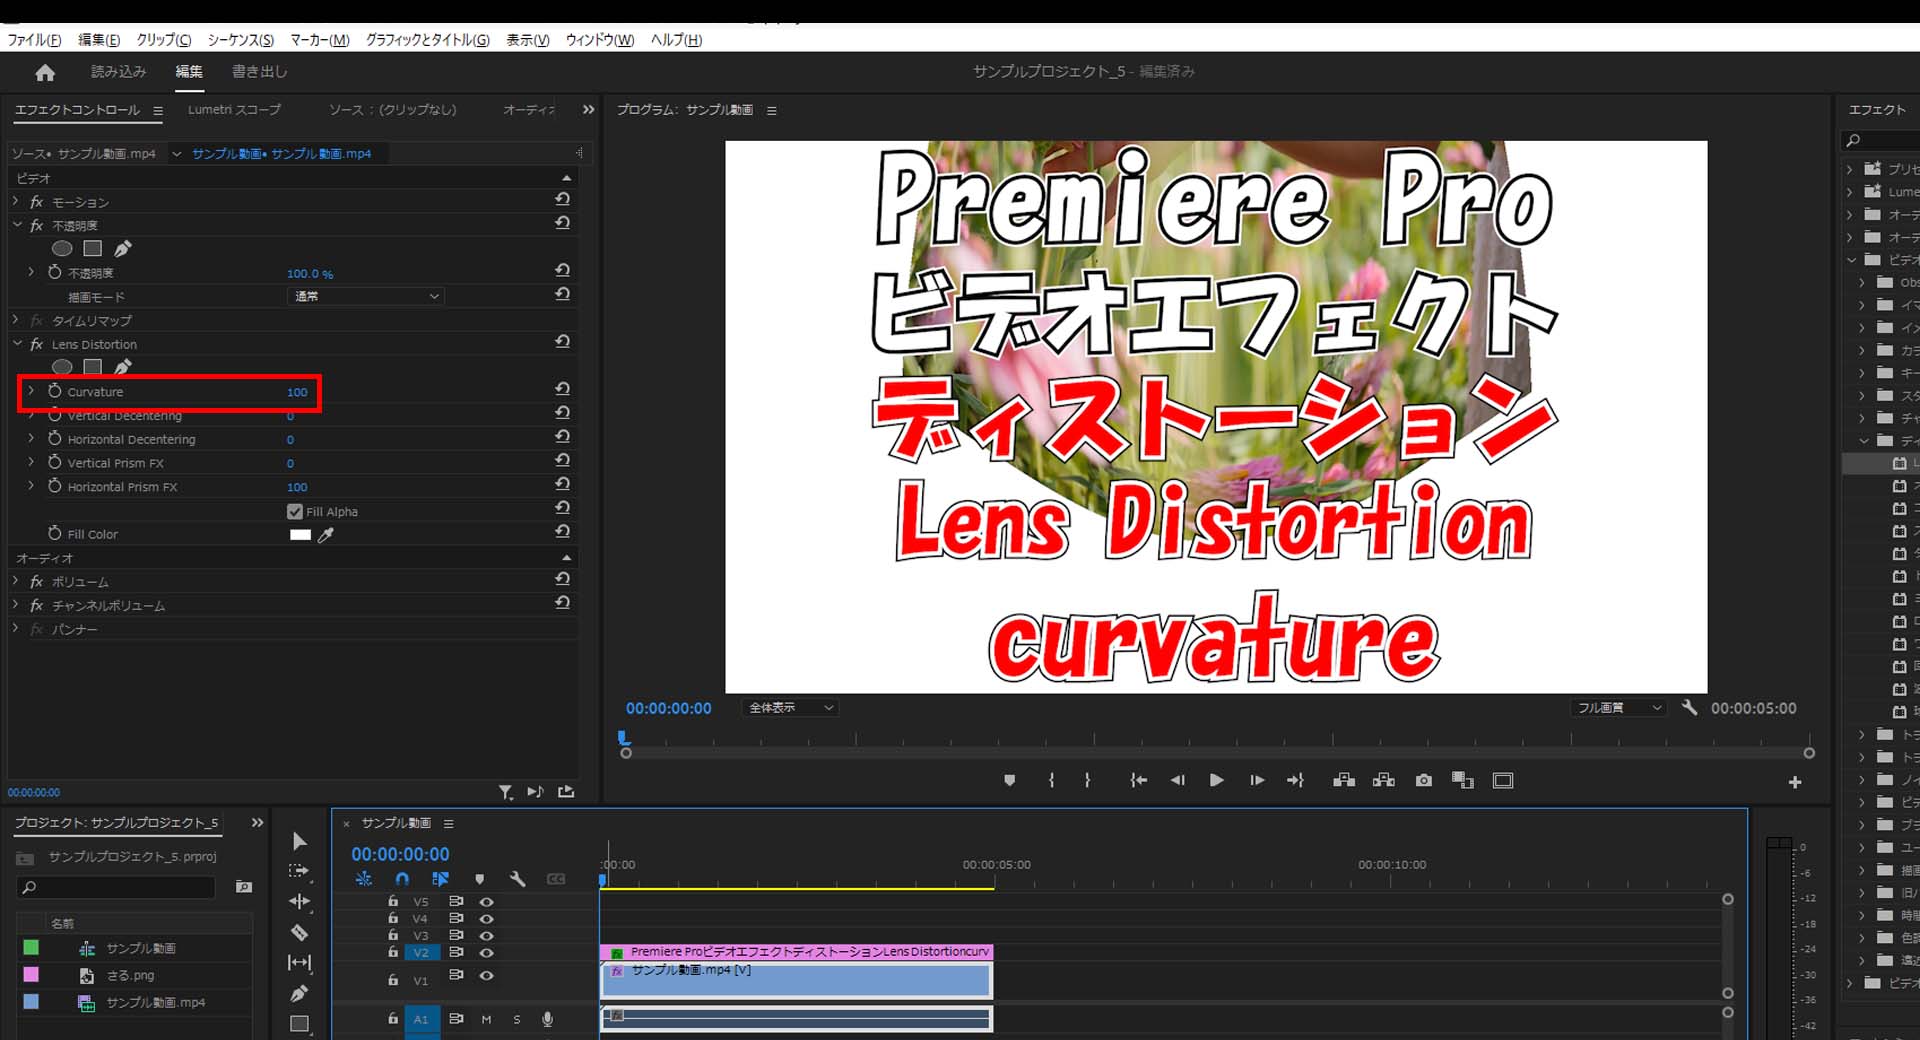
「curvature」
「Lens Distortion」は魚眼レンズの様な雰囲気で「curvature」は画面全体を丸くすることができます。
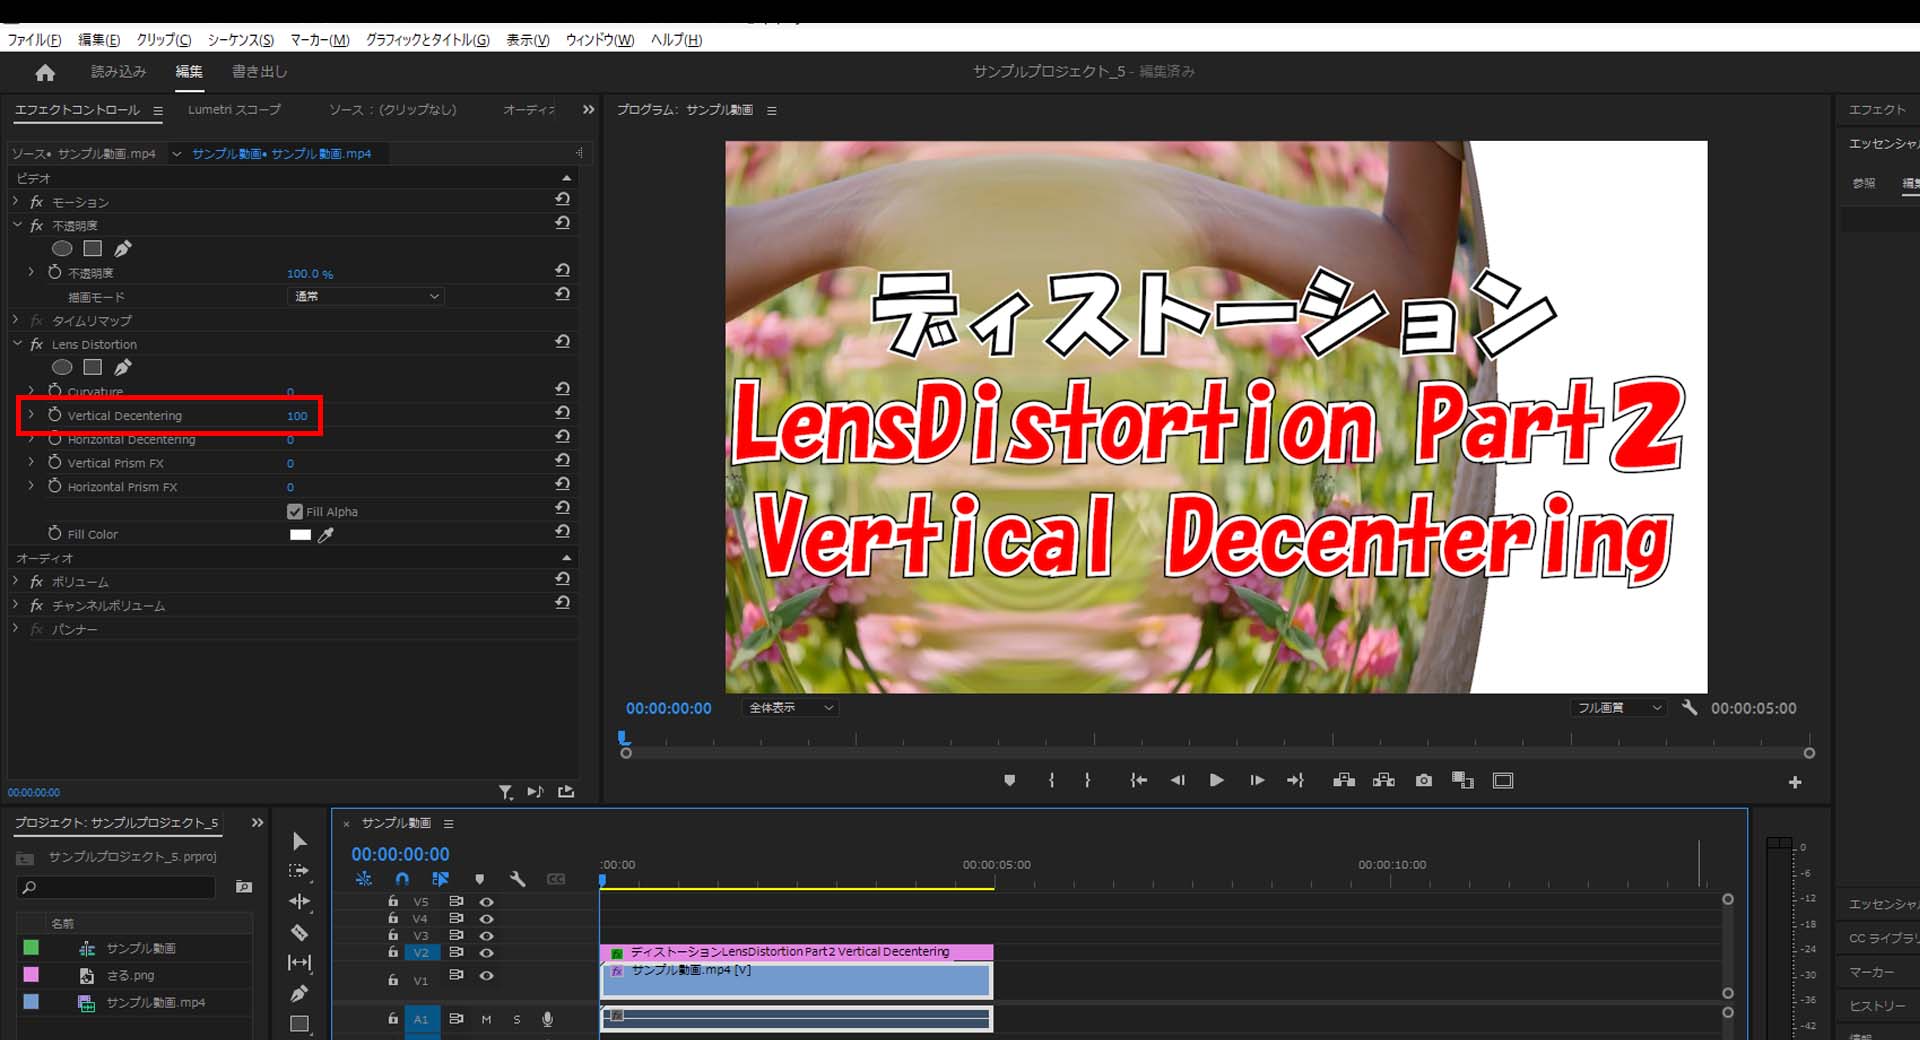
「Vertical Decentering」
「Lens Distortion」は魚眼レンズの様な雰囲気で「Vertical Decentering」は左右を丸くすることができます。
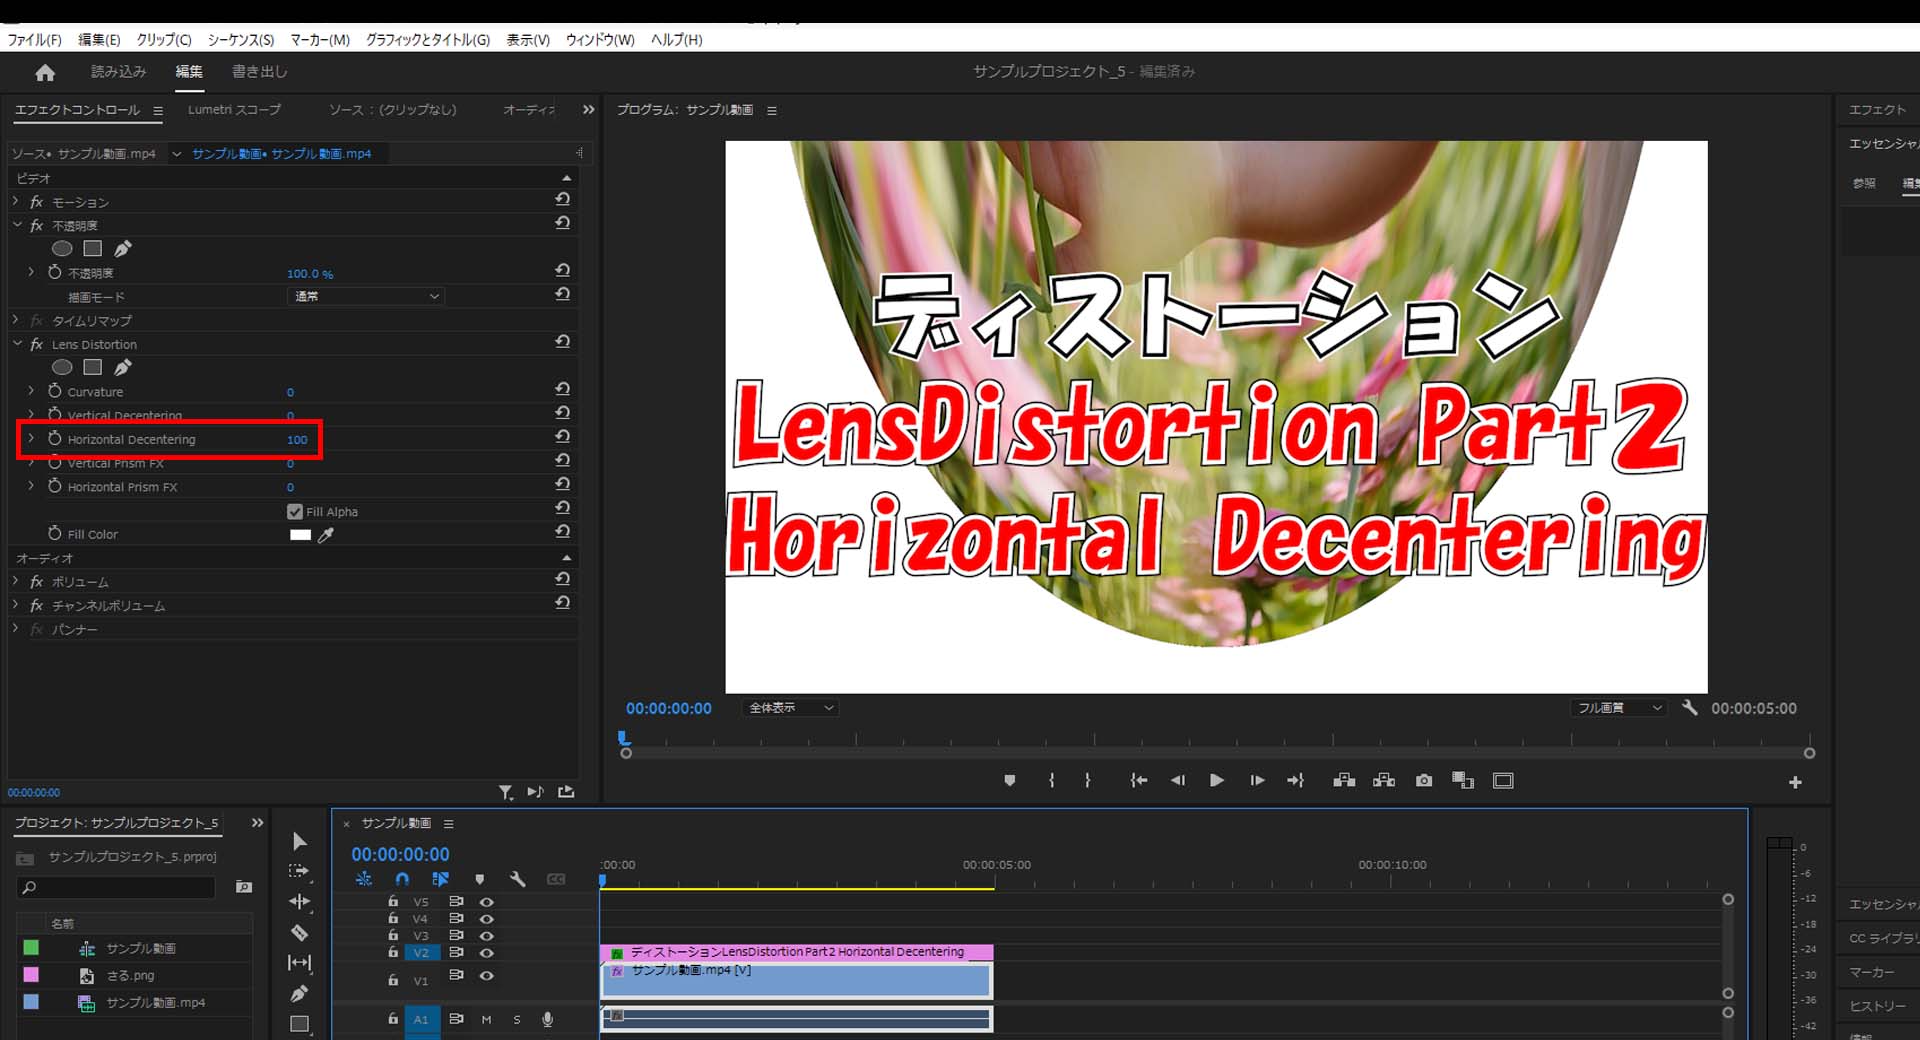
「Horizontal Decentering」
「Lens Distortion」は魚眼レンズの様な雰囲気で「Horizontal Decentering」は上下を丸くすることができます。
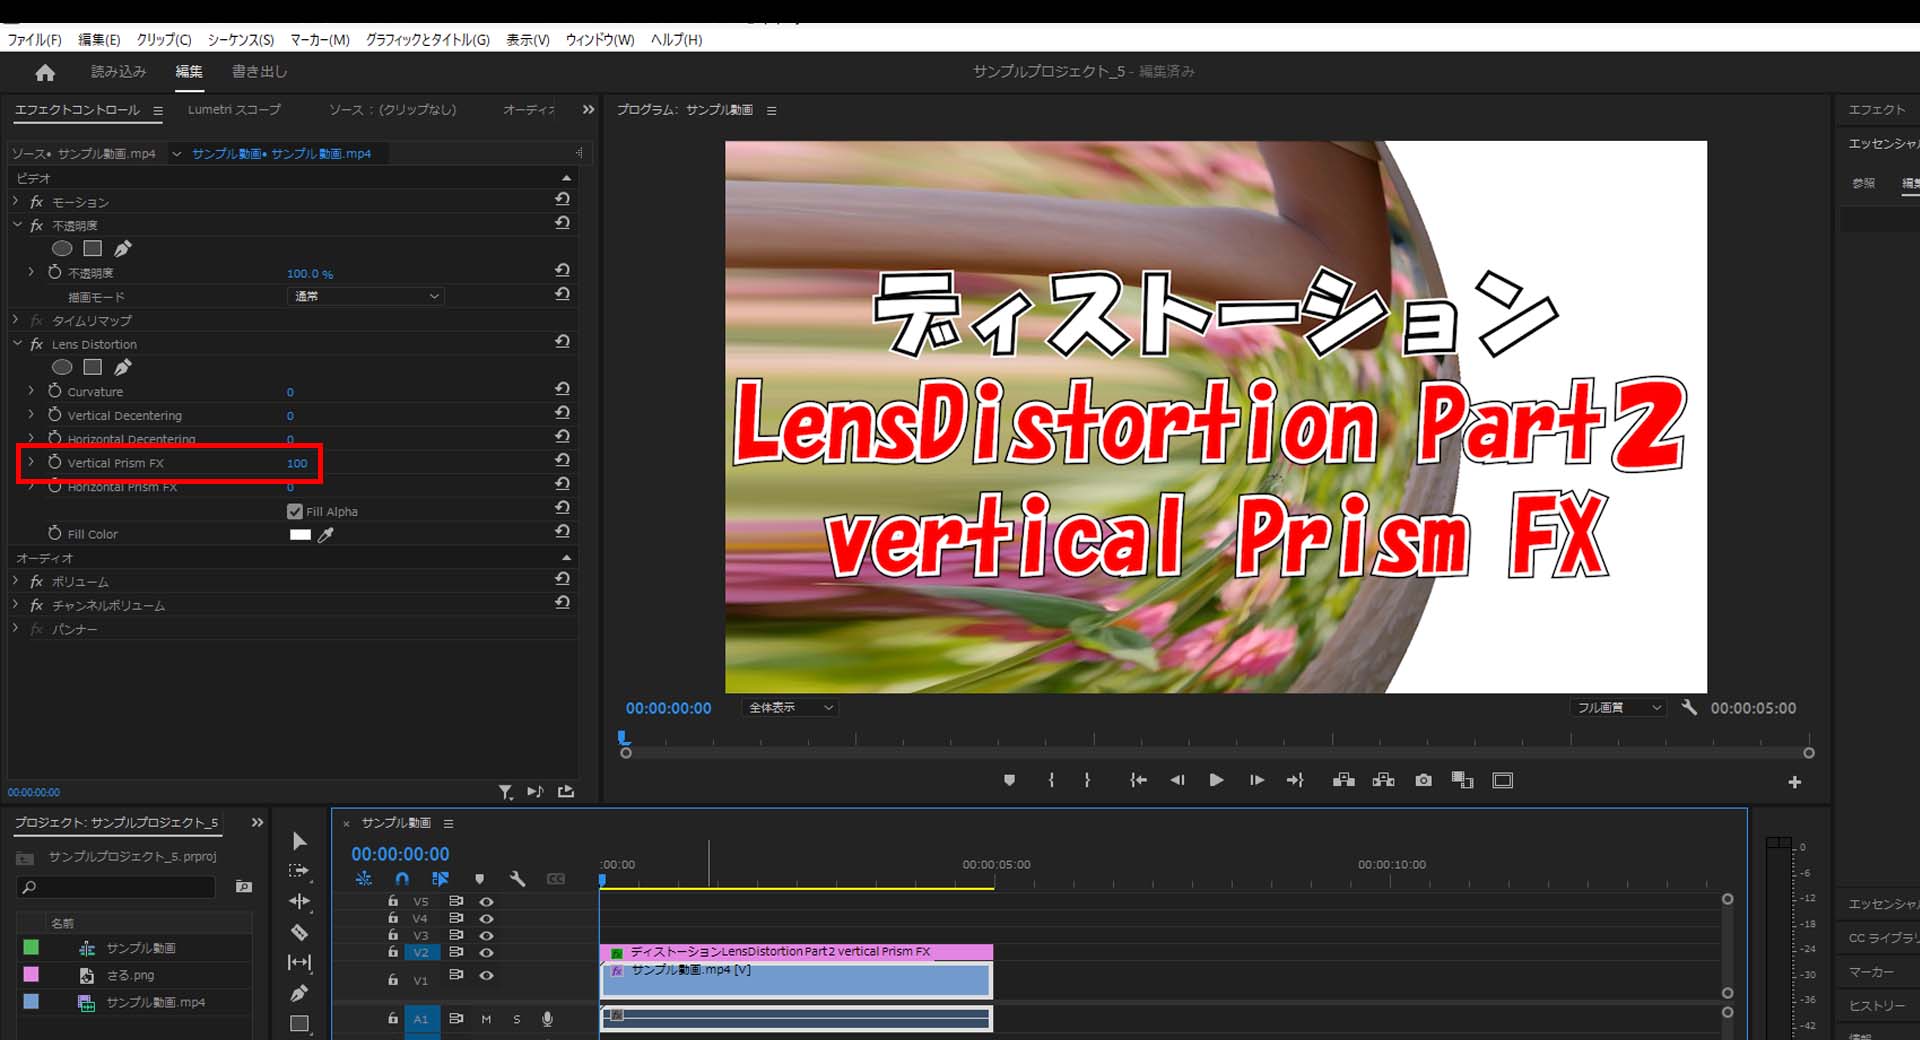
「vertical Prism FX」
「Lens Distortion」は魚眼レンズの様な雰囲気で「vertical Prism FX」は「Vertical Decentering」より強い感じで左右を丸くすることができます。
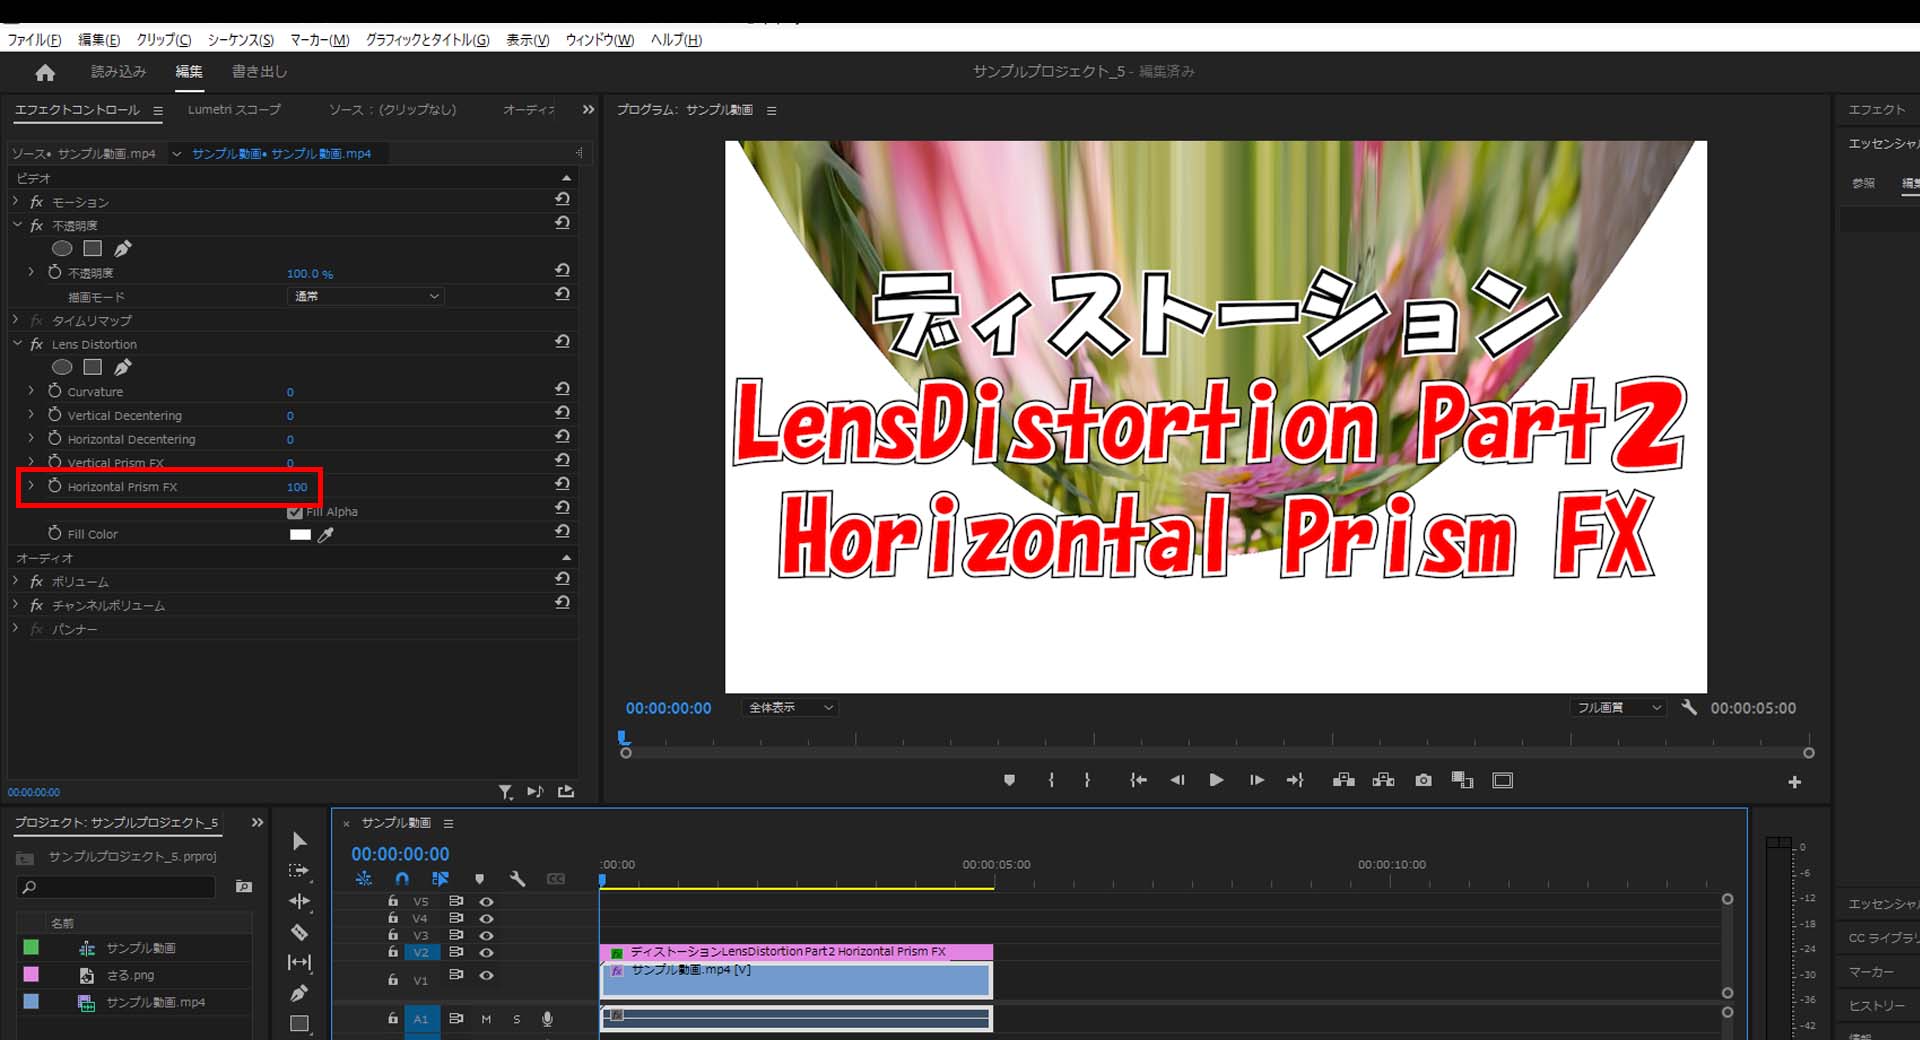
「Horizontal Prism FX」
「Lens Distortion」は魚眼レンズの様な雰囲気で「Horizontal Prism FX」は「Horizontal Decentering」より強い感じで上下を丸くすることができます。
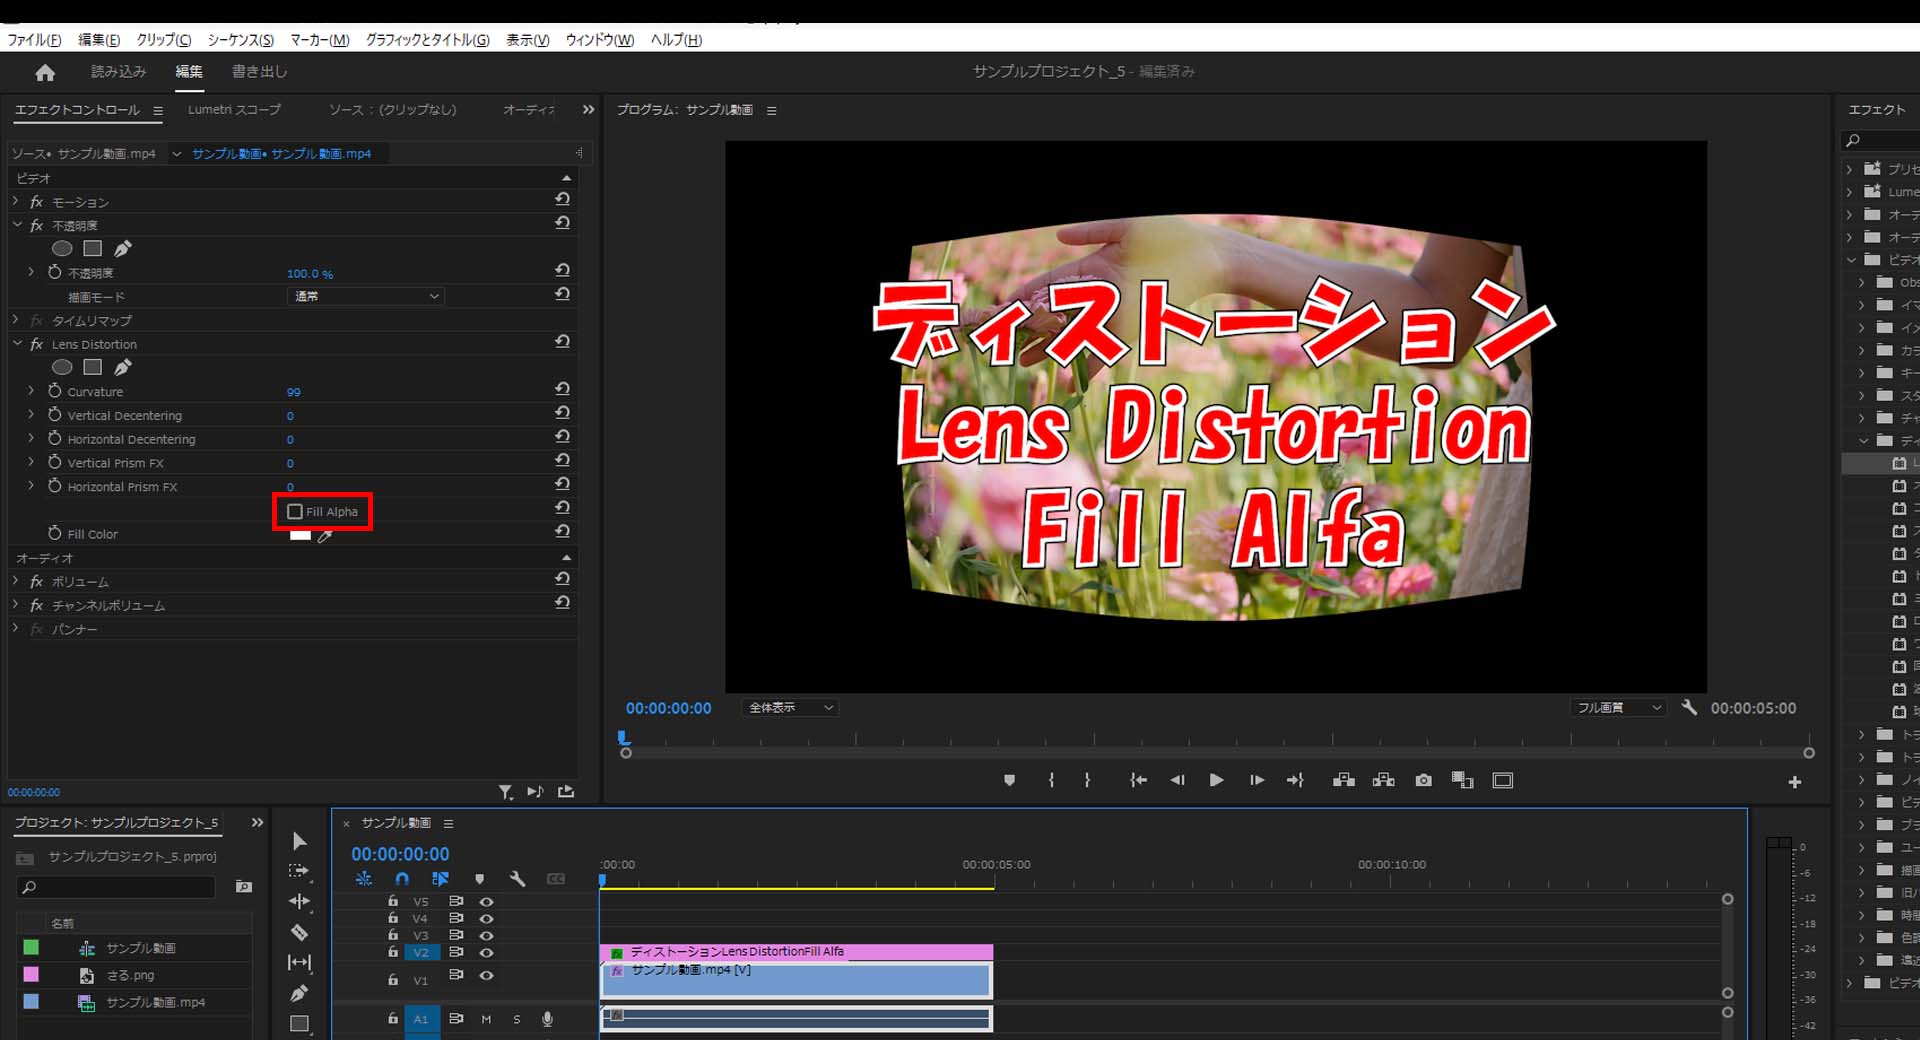
「Fill Alpha」
「Fill Alpha」のチェックボックスをOFFにすると背景が暗くなり、ONにすると背景色を変更することができます。
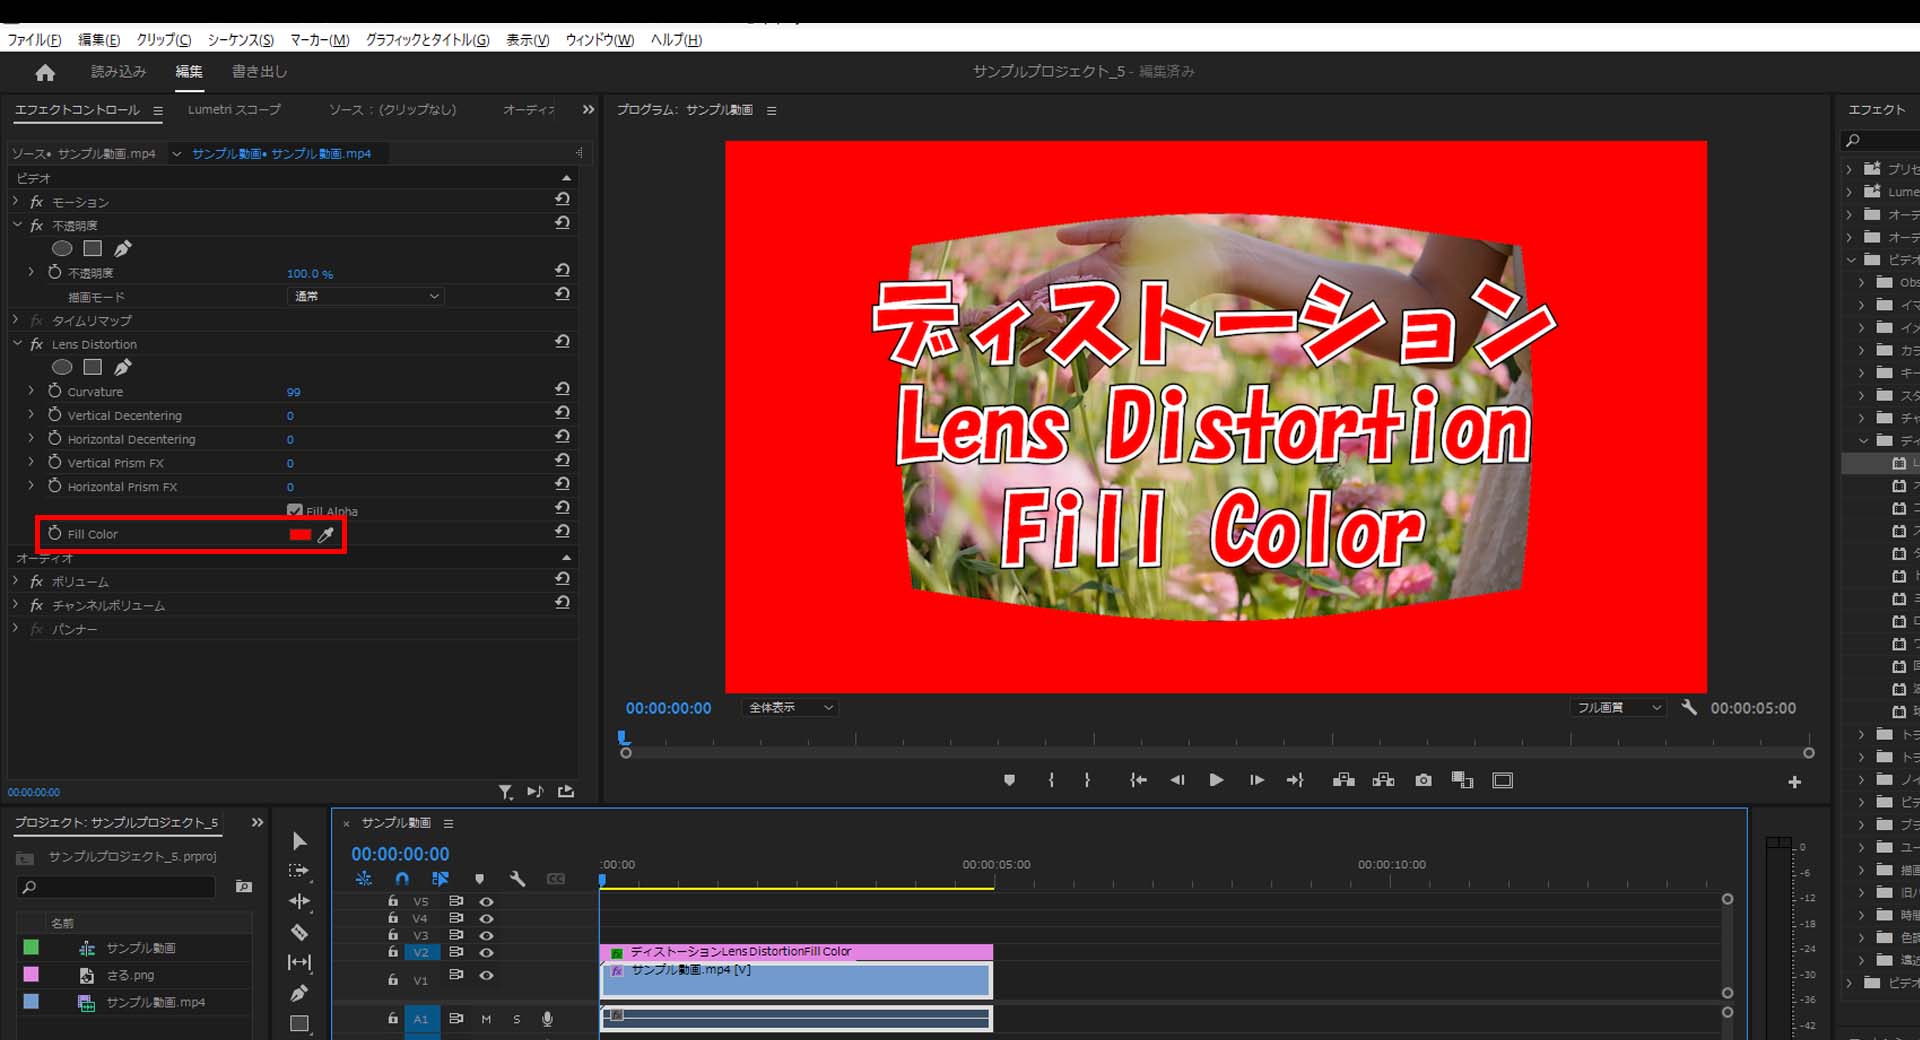
「Fill Color」
「Fill Color」は「Lens Distortion」で見えるようになった背景色を変更することができます。
「ビデオエフェクト」で「Lens Distortion」を使ってみよう
1-1.エフェクトはデフォルトでは画面右側にあるパネルに格納されていて「ビデオエフェクト」「ディストーション」の「Lens Distortion」もその中に格納されています。
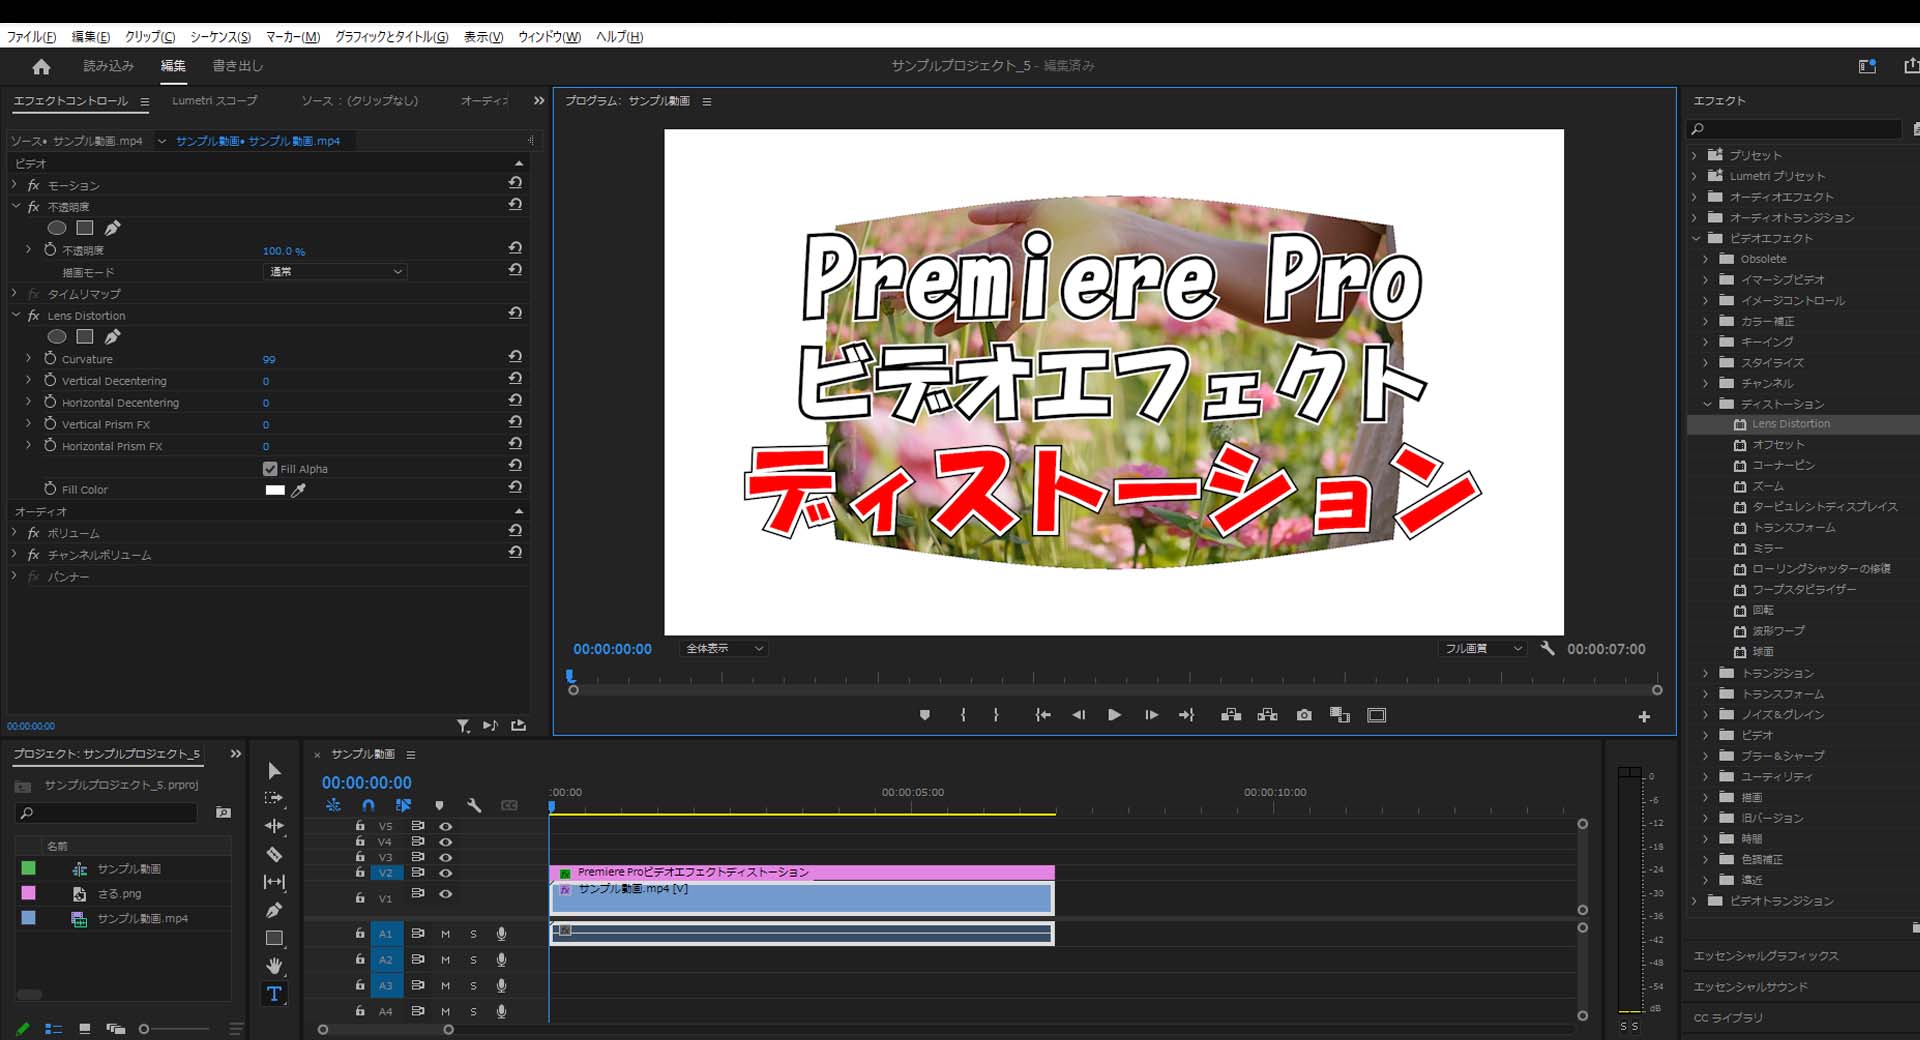
1-2.「スタイライズ」を開いたら「Lens Distortion」を適用させたいアイテムにドラッグ&ドロップします。
「curvature」
2-1.「curvature」エフェクトを適用するとデフォルト値では視覚的な変更はありませんが値を変更すると雰囲気が変わります。
(デフォルト値は「0」で、「100」~「100」に値変更できて今回は「100」に変更しています。)
「Vertical Decentering」
3-1.「Vertical Decentering」エフェクトを適用すると左右方向に丸みが弱い状態で魚眼レンズの様なエフェクトを適用します。
(デフォルト値は「0」で、「100」~「100」に値変更できて今回は「100」に変更しています。)
「Horizontal Decentering」
4-1.「Horizontal Decentering」エフェクトを適用すると上下方向に丸みが弱い状態で魚眼レンズの様なエフェクトを適用します。
(デフォルト値は「0」で、「100」~「100」に値変更できて今回は「100」に変更しています。)
「vertical Prism FX」
5-1.「vertical Prism FX」エフェクトを適用すると左右方向に丸みが強い状態で魚眼レンズの様なエフェクトを適用します。
(デフォルト値は「0」で、「100」~「100」に値変更できて今回は「100」に変更しています。)

「Horizontal Prism FX」
6-1.「Horizontal Prism FX」エフェクトを適用すると上下方向に丸みが強い状態で魚眼レンズの様なエフェクトを適用します。
(デフォルト値は「0」で、「100」~「100」に値変更できて今回は「100」に変更しています。)
「Fill Alpha」
7-1.「Fill Alfa」エフェクトのチェックボックスをOFFにすると背景色が黒になります。
「Fill Color」
8-1.「Fill Color」エフェクトの色を変更すると指定した背景色に変わります。

今回はここまで。
次回はオフセットについて解説していきます。
コメント