ノーコードプログラミングのBubbleの解説をやっていきます。
Bubbleは僕もまだまだ勉強中な部分も非常に多いので備忘的な部分も多く含めているのをご了承ください。
背景画像変更
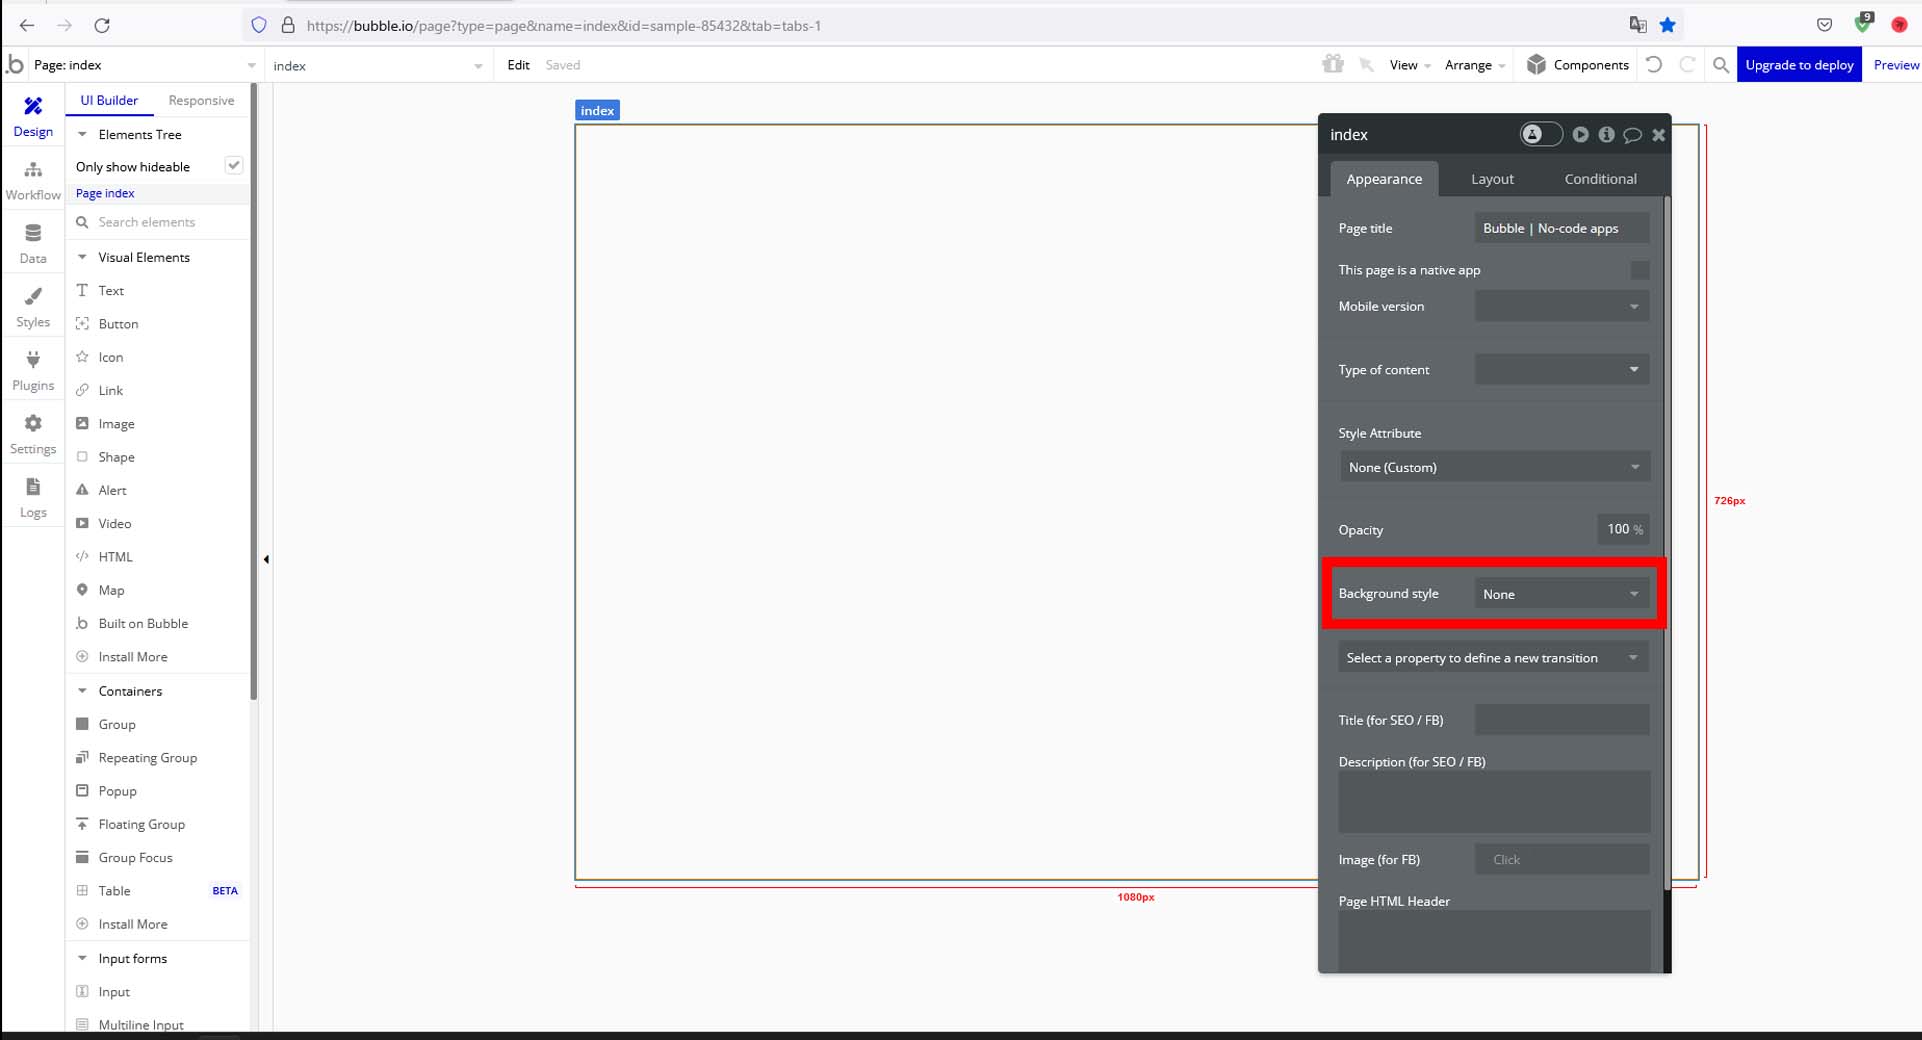
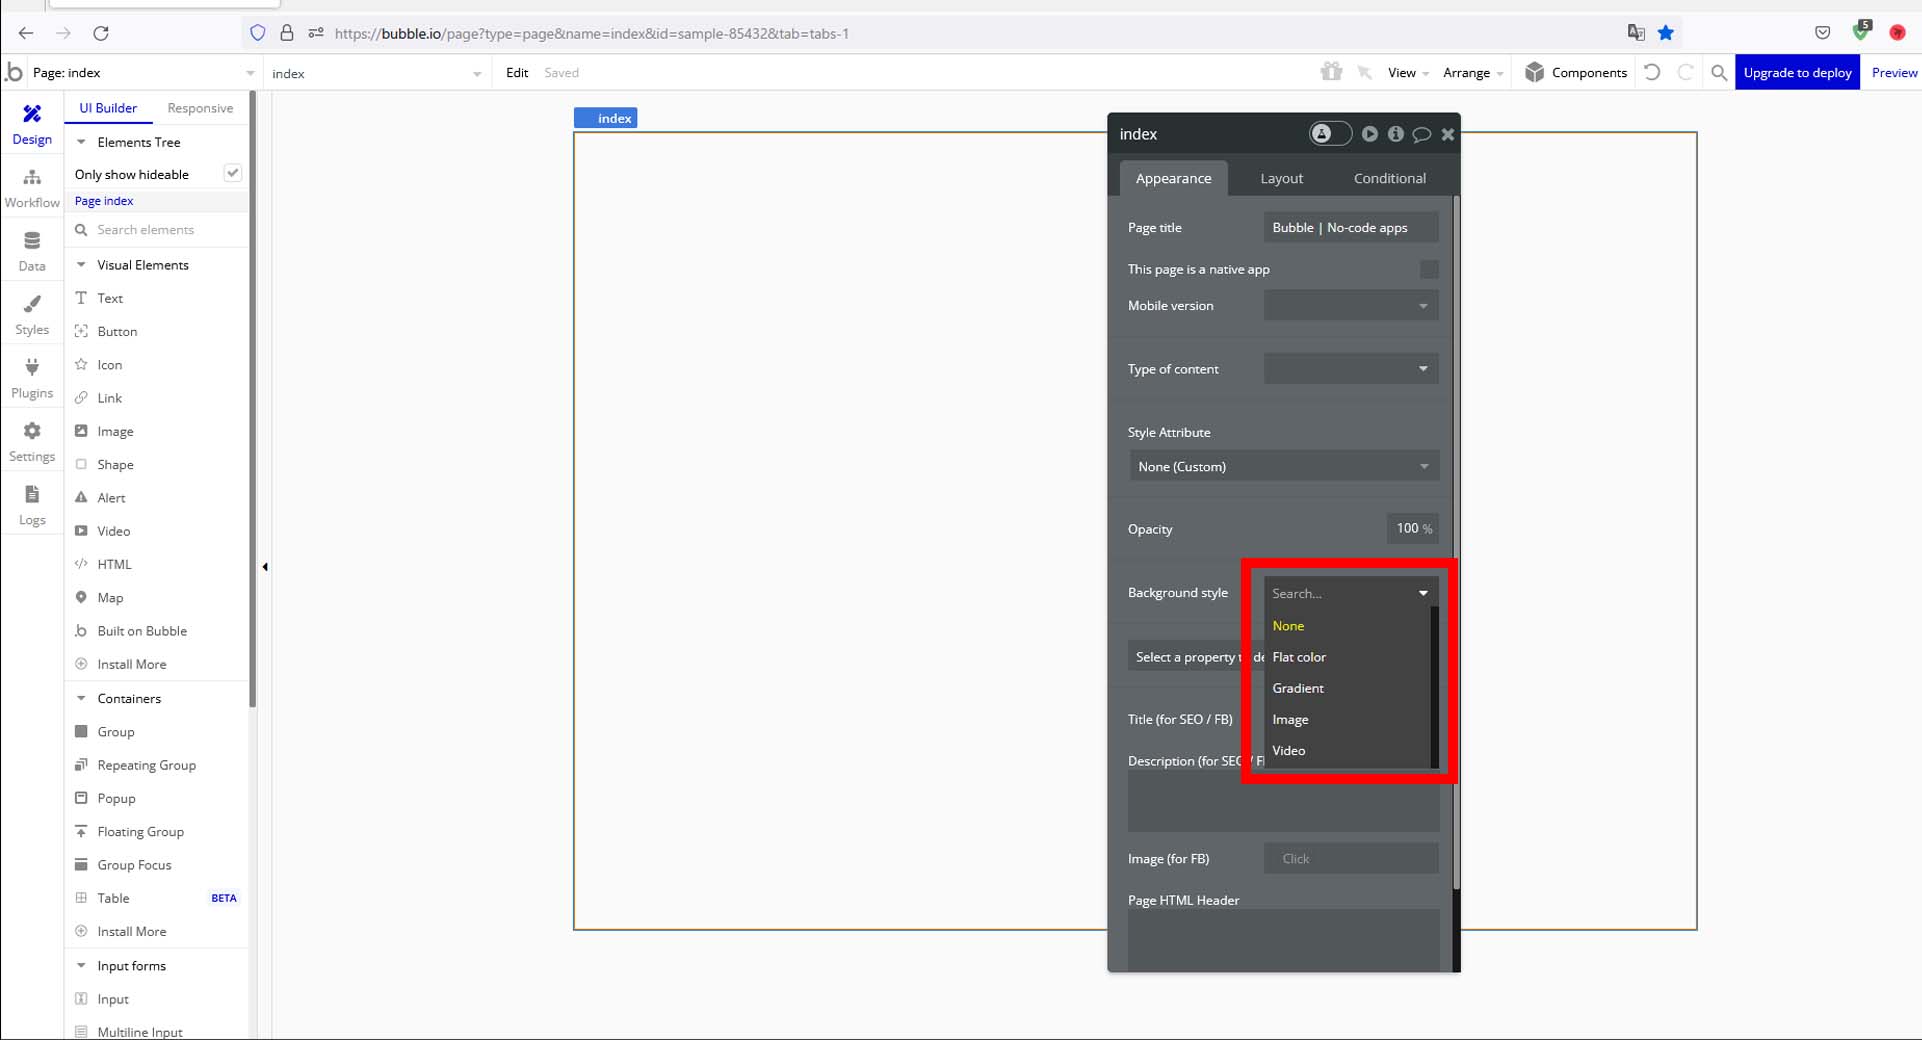
Bubbleの画面背景画像の変更はメニューの「Appearrance」タブの「Background Style」から変更することができます。
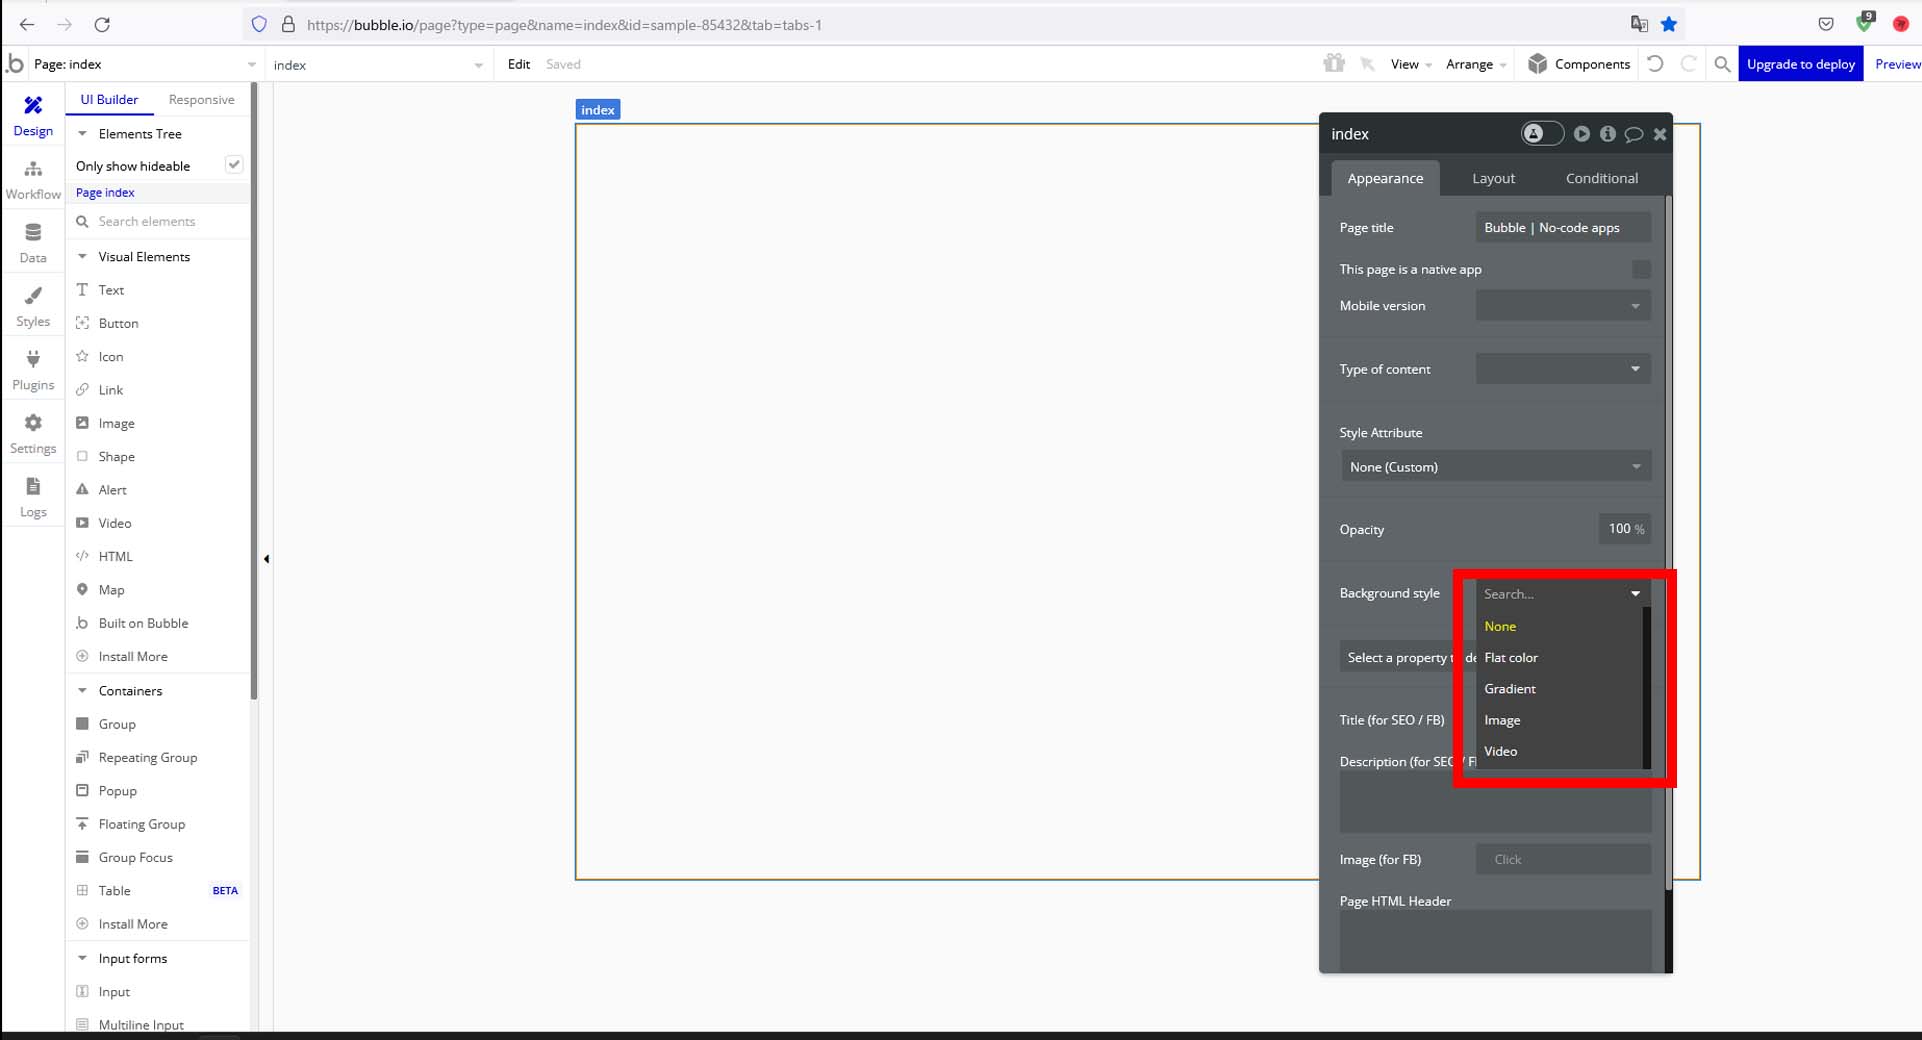
そんな「Background Style」には「None」「Flat Color」「Gradient」「Image」「Video」の項目があります。
背景画像の変更「Background Style」
今回はそんなBubbleの「Background Style」である背景画像変更の「Image」の解説をしていきます。
「Background Style」
Static Image
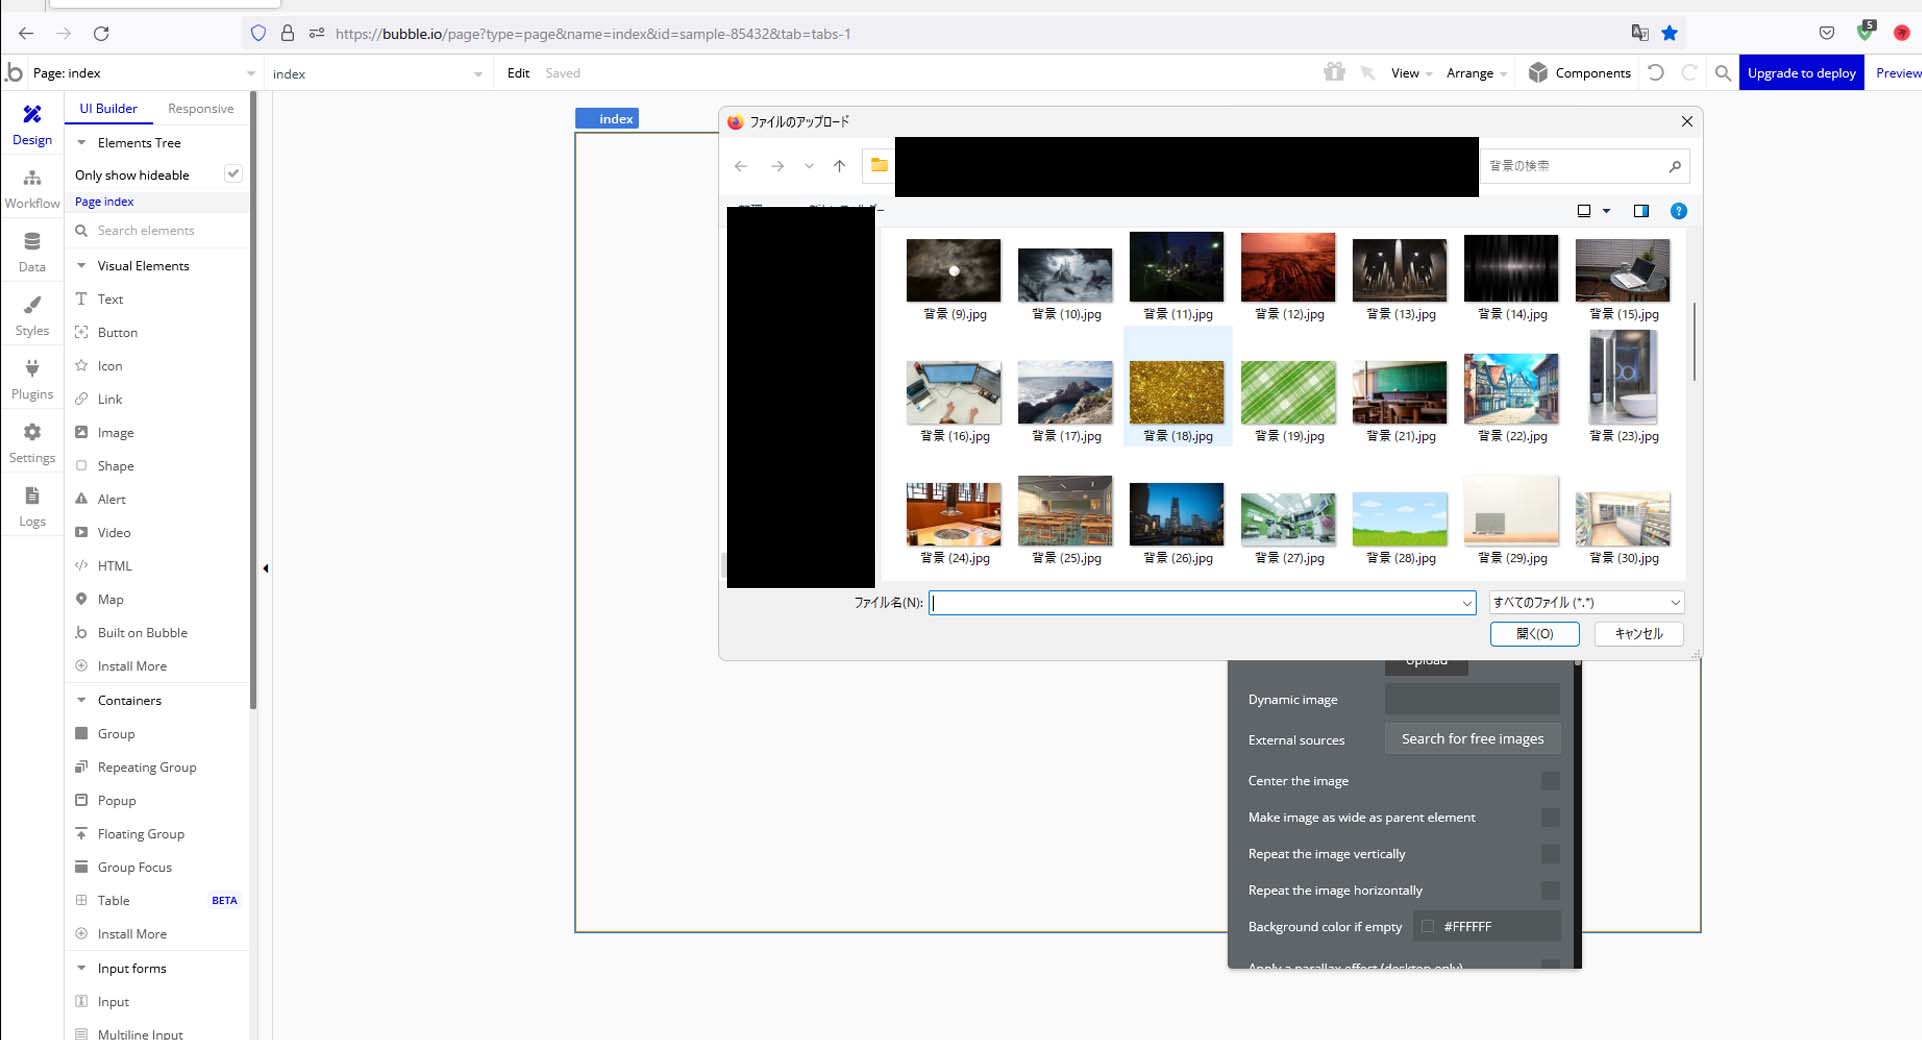
Bubbleの「Background Style」の「Static Image」を選択して変更したい画像を選択することで背景画像を変更することができます。
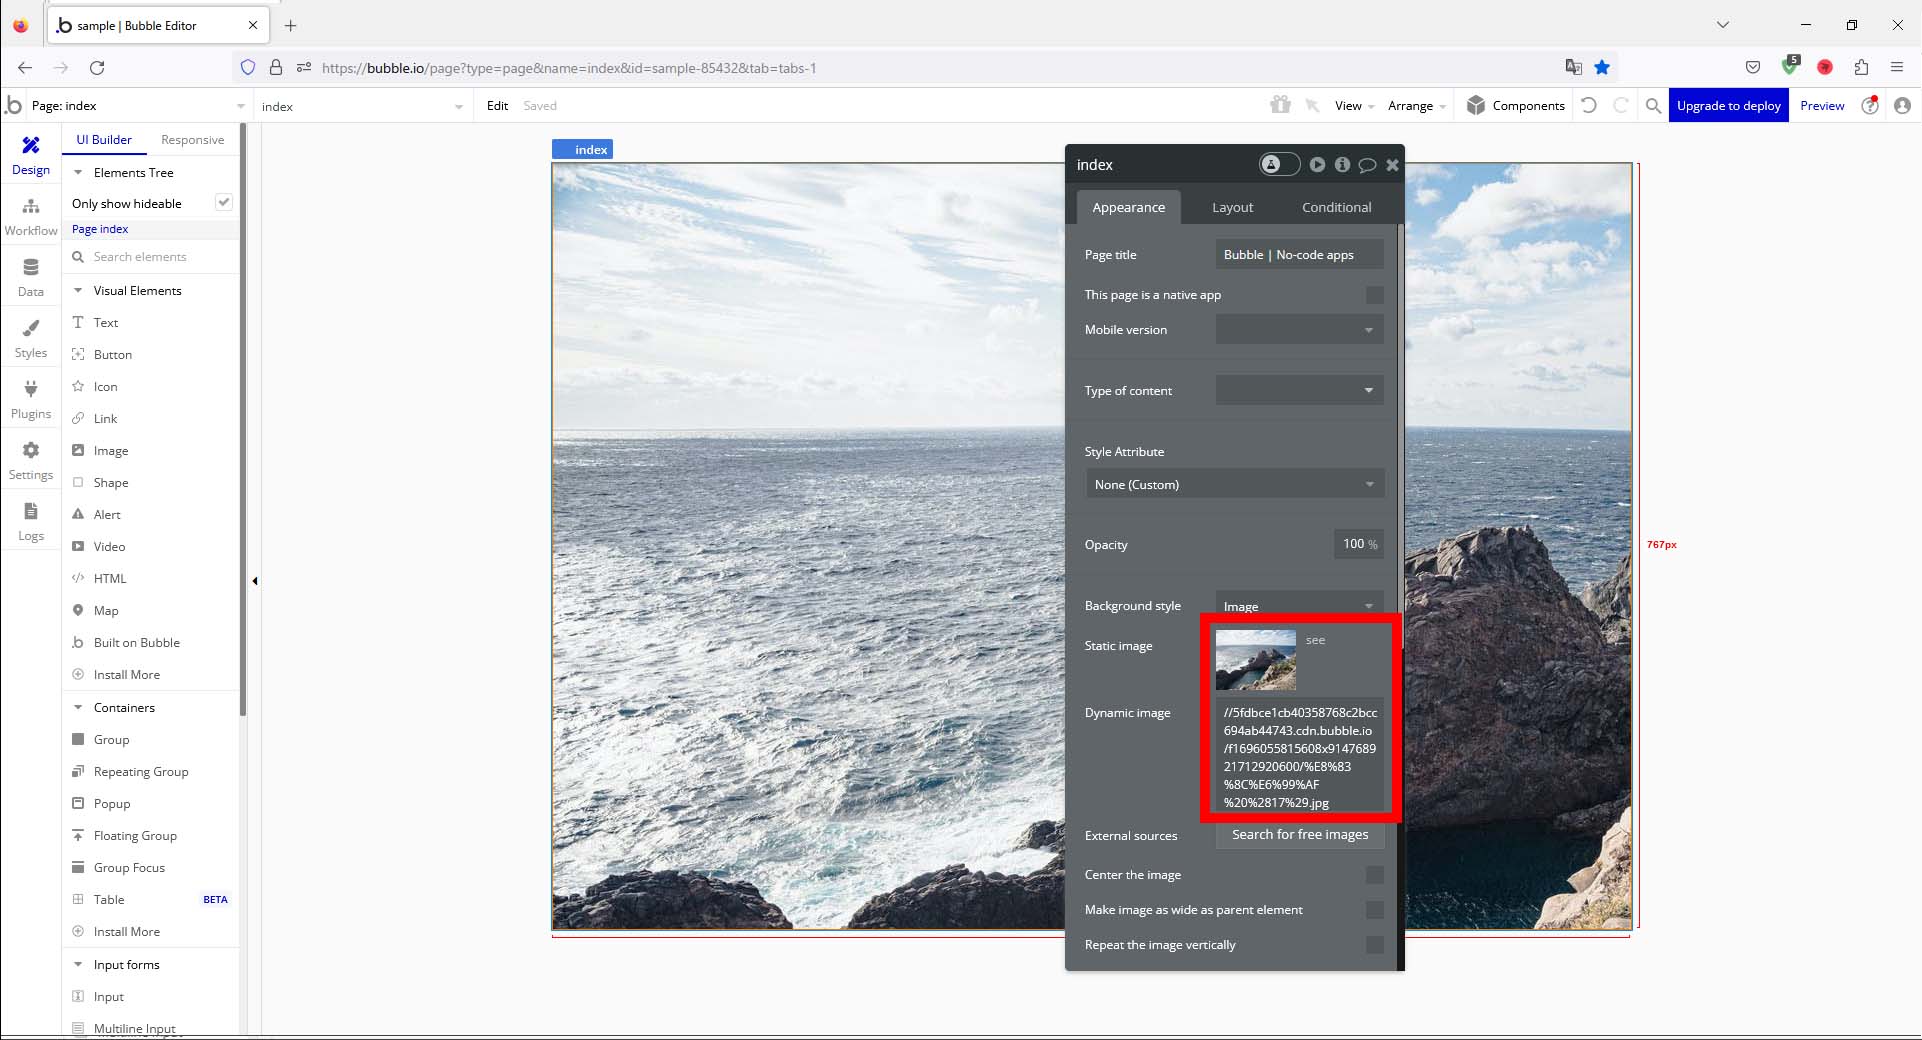
Dynamic Image
画像を変更すると「Dynamic Image」に相対パスが自動で挿入されますが、これは自動で挿入されるものなので特に気にしなくて大丈夫です。
「Bubble」で背景画像を変更してみよう
1-1.今回はフォルダ構成が見えてしまうので完成イメージはありません。
1-2.画面上のどこでもいいので「右クリック → Edit」 or 「ダブルクリック」でメニューを開きます。
![Bubble_メニュー1](https://katojishi.com/wp-content/uploads/2023/09/1-2-1.jpg)
![Bubble_メニュー2](https://katojishi.com/wp-content/uploads/2023/09/1-2-2.jpg)
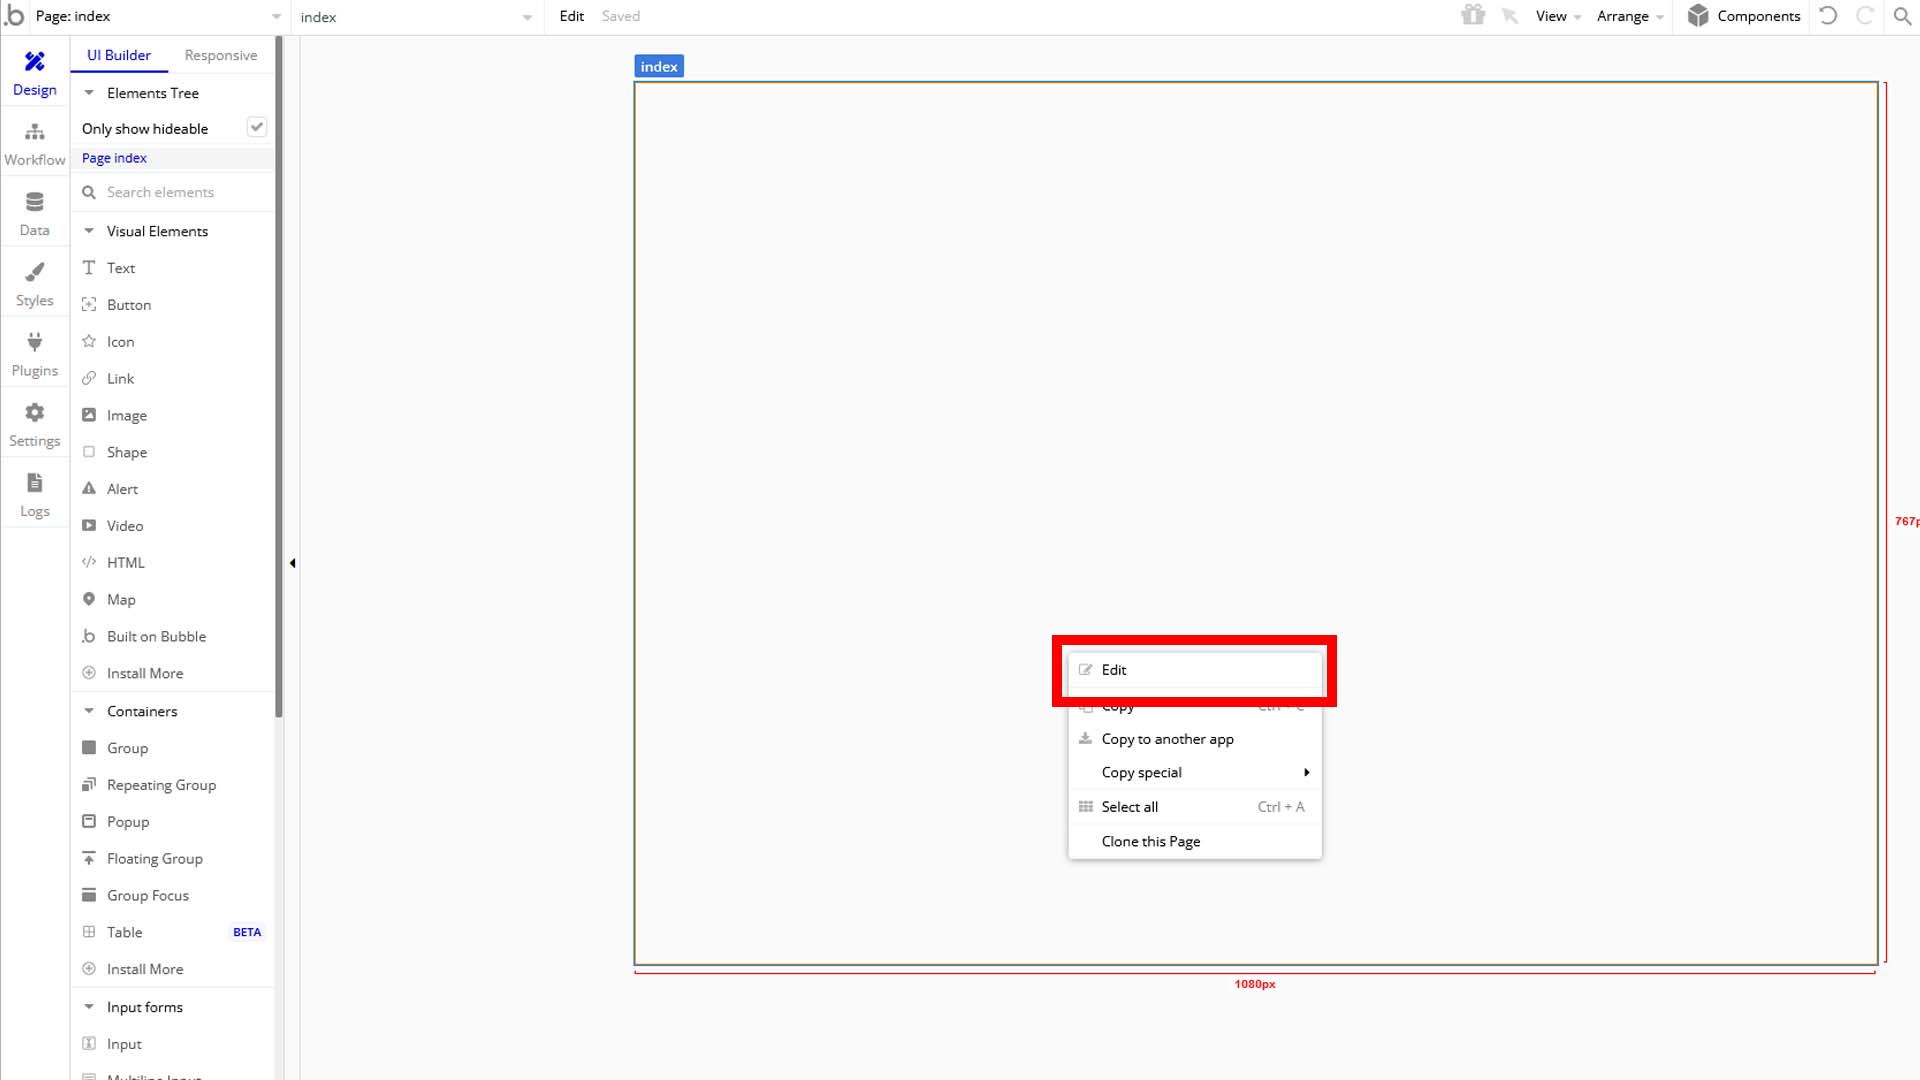
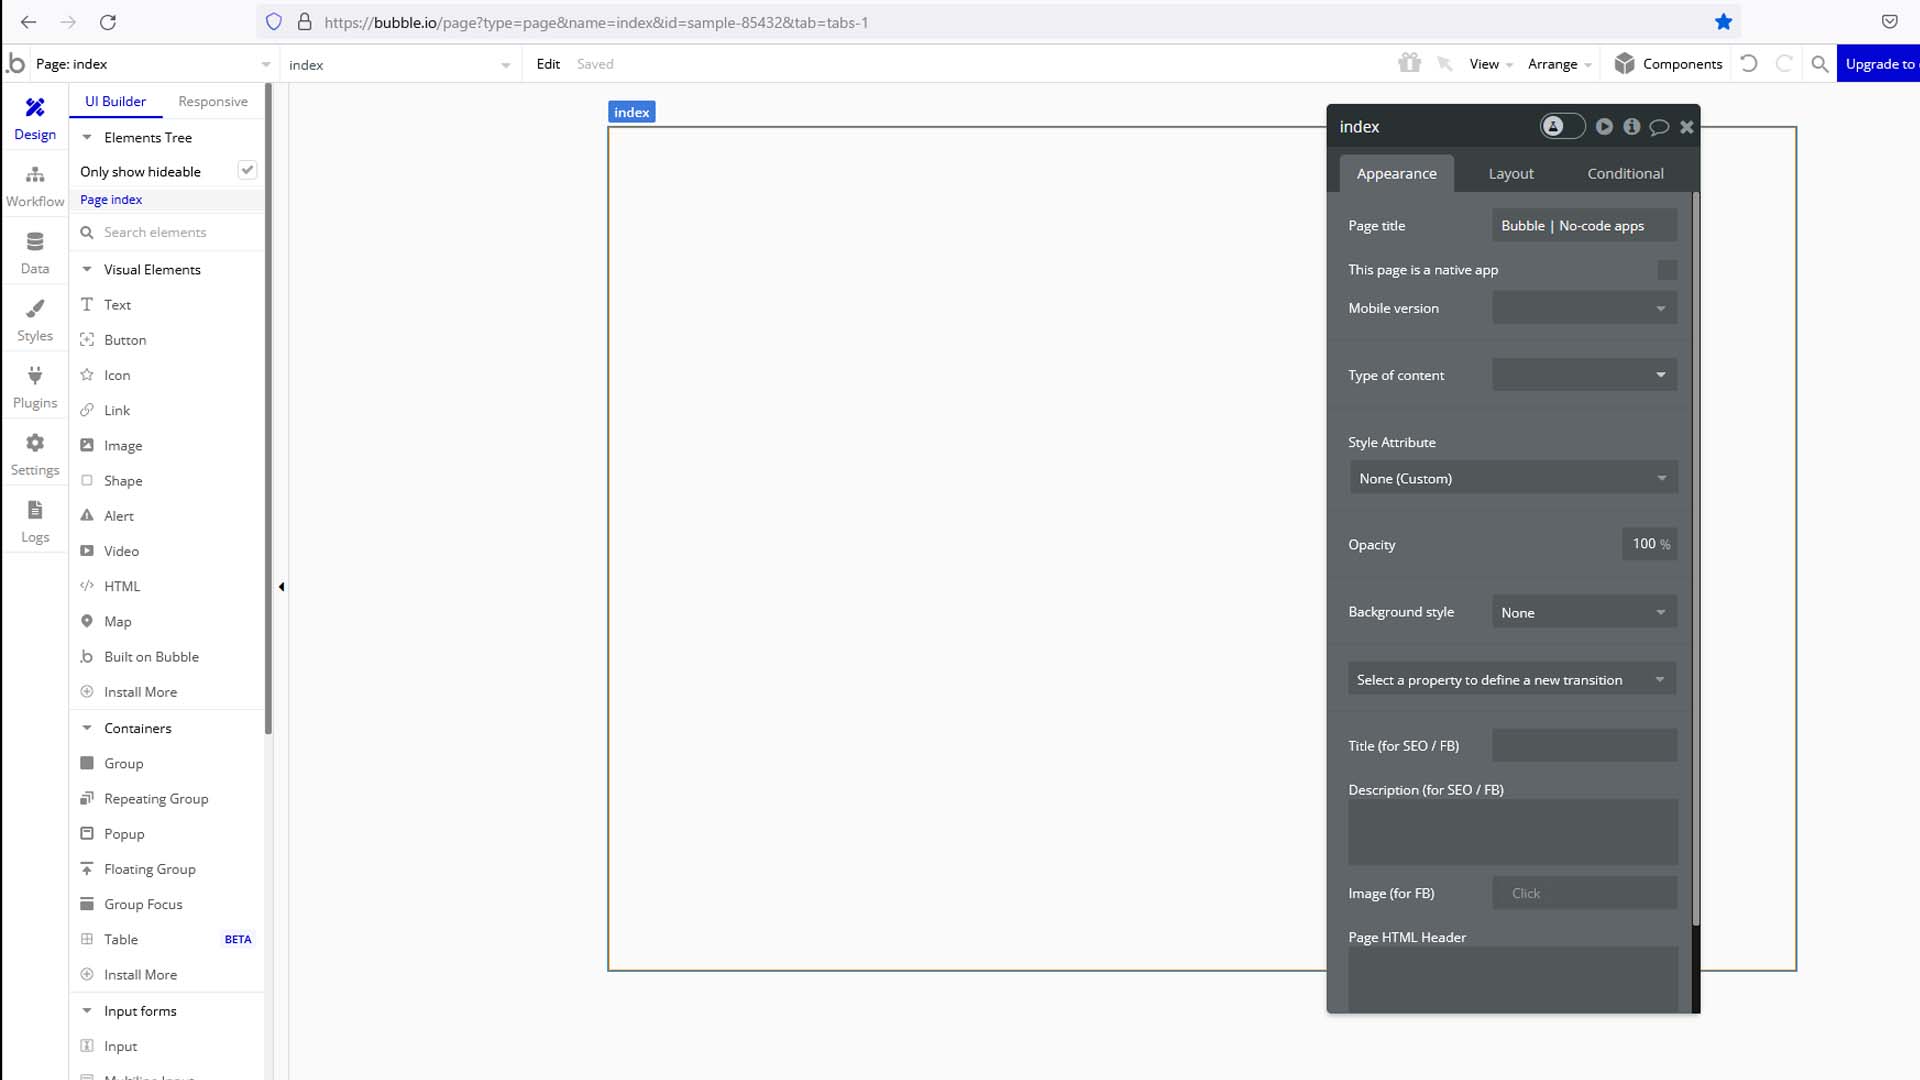
1-3.メニューの「Appearrance」タブの「Background Style」が今回の変更対象です。
(デフォルト値は「None」(背景色無し)です。
![Bubble_BackgroundStyle_None](https://katojishi.com/wp-content/uploads/2023/09/1-2-3.jpg)
![Bubble_BackgroundStyle_プルダウン](https://katojishi.com/wp-content/uploads/2023/09/1-3-2-2.jpg)
1-4.背景である「Background Style」の「Image」の「Static Image」を押下して画像を選択すると自動で背景が設定されます。
![Bubble_BackgroundStyle_メニュー](https://katojishi.com/wp-content/uploads/2023/09/1-4-2-2.jpg)
![Bubble_BackgroundStyle_StaticImage_画像選択](https://katojishi.com/wp-content/uploads/2023/09/1-5-1-1.jpg)
![Bubble_BackgroundStyle_StaticImage_画像選択](https://katojishi.com/wp-content/uploads/2023/09/1-5-8.jpg)
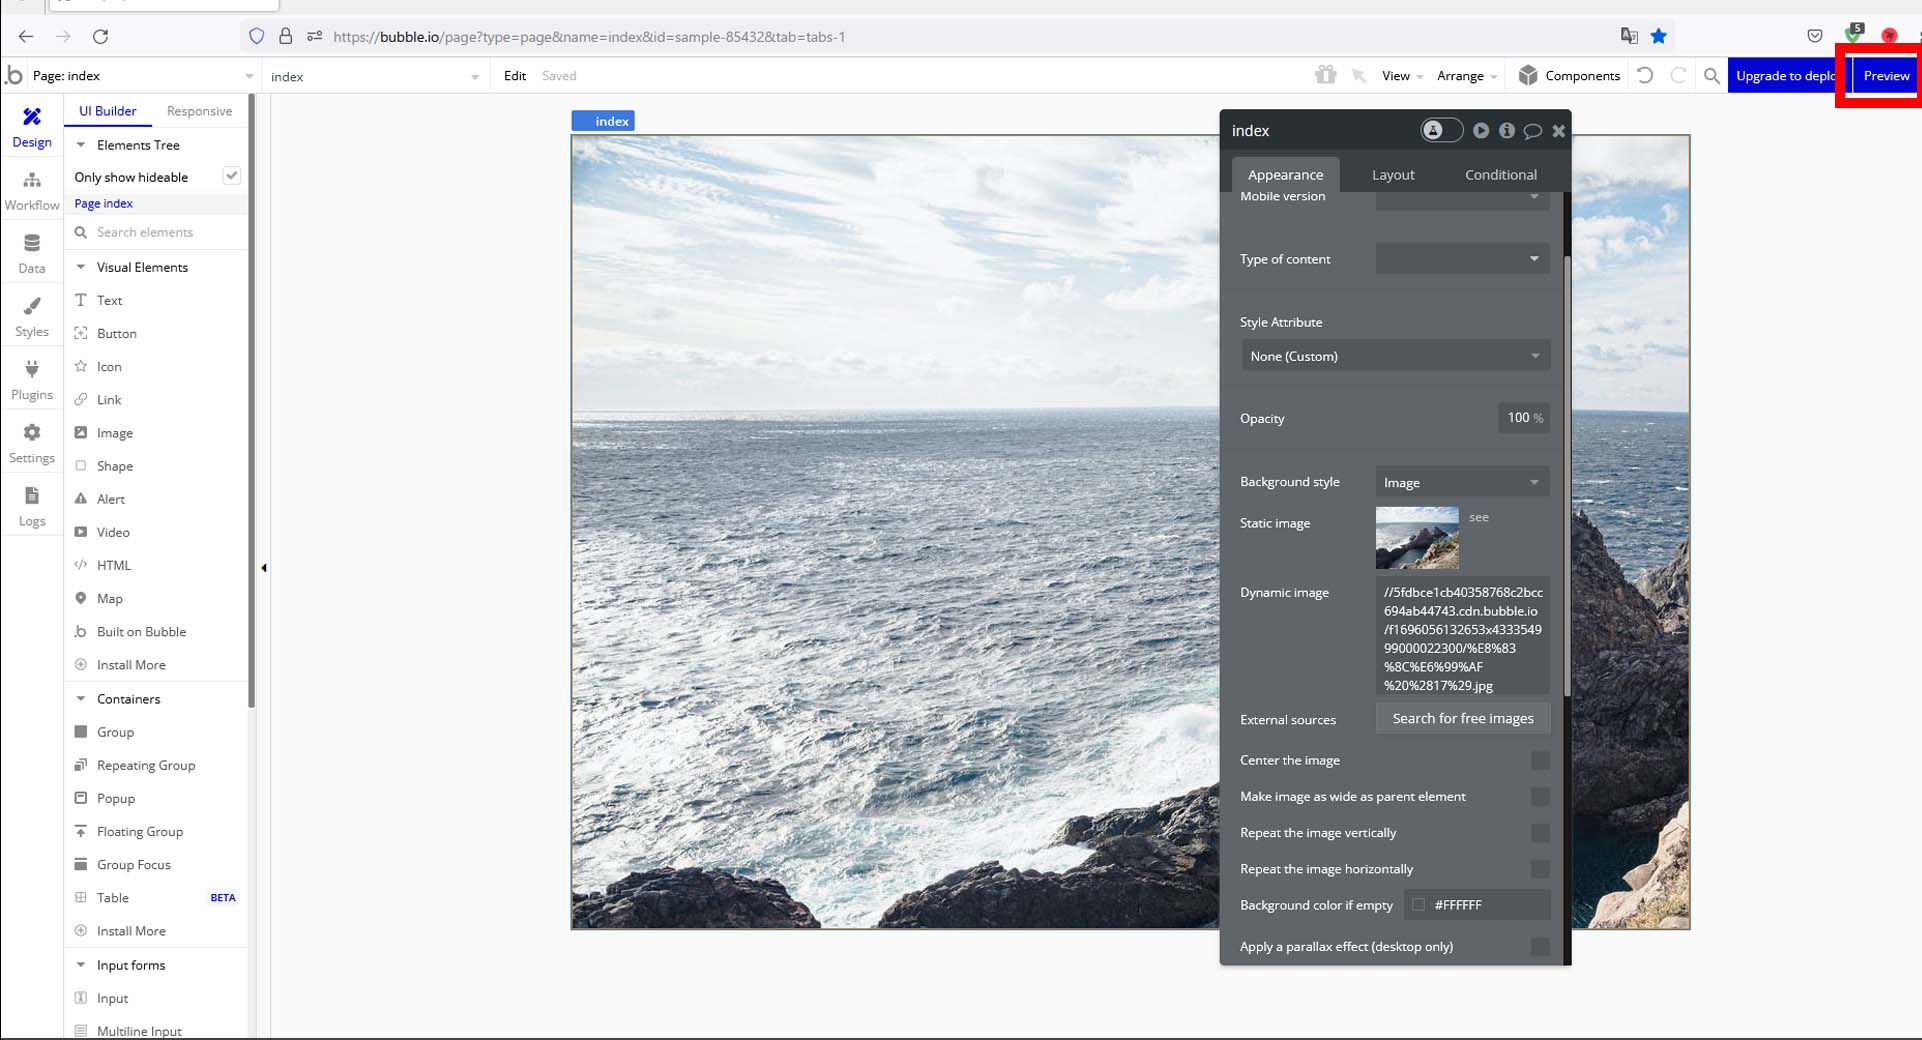
1-5.選択した画像が実際に適用されているかプレビューするためには画面右上の「Preview」ボタンを押下します。
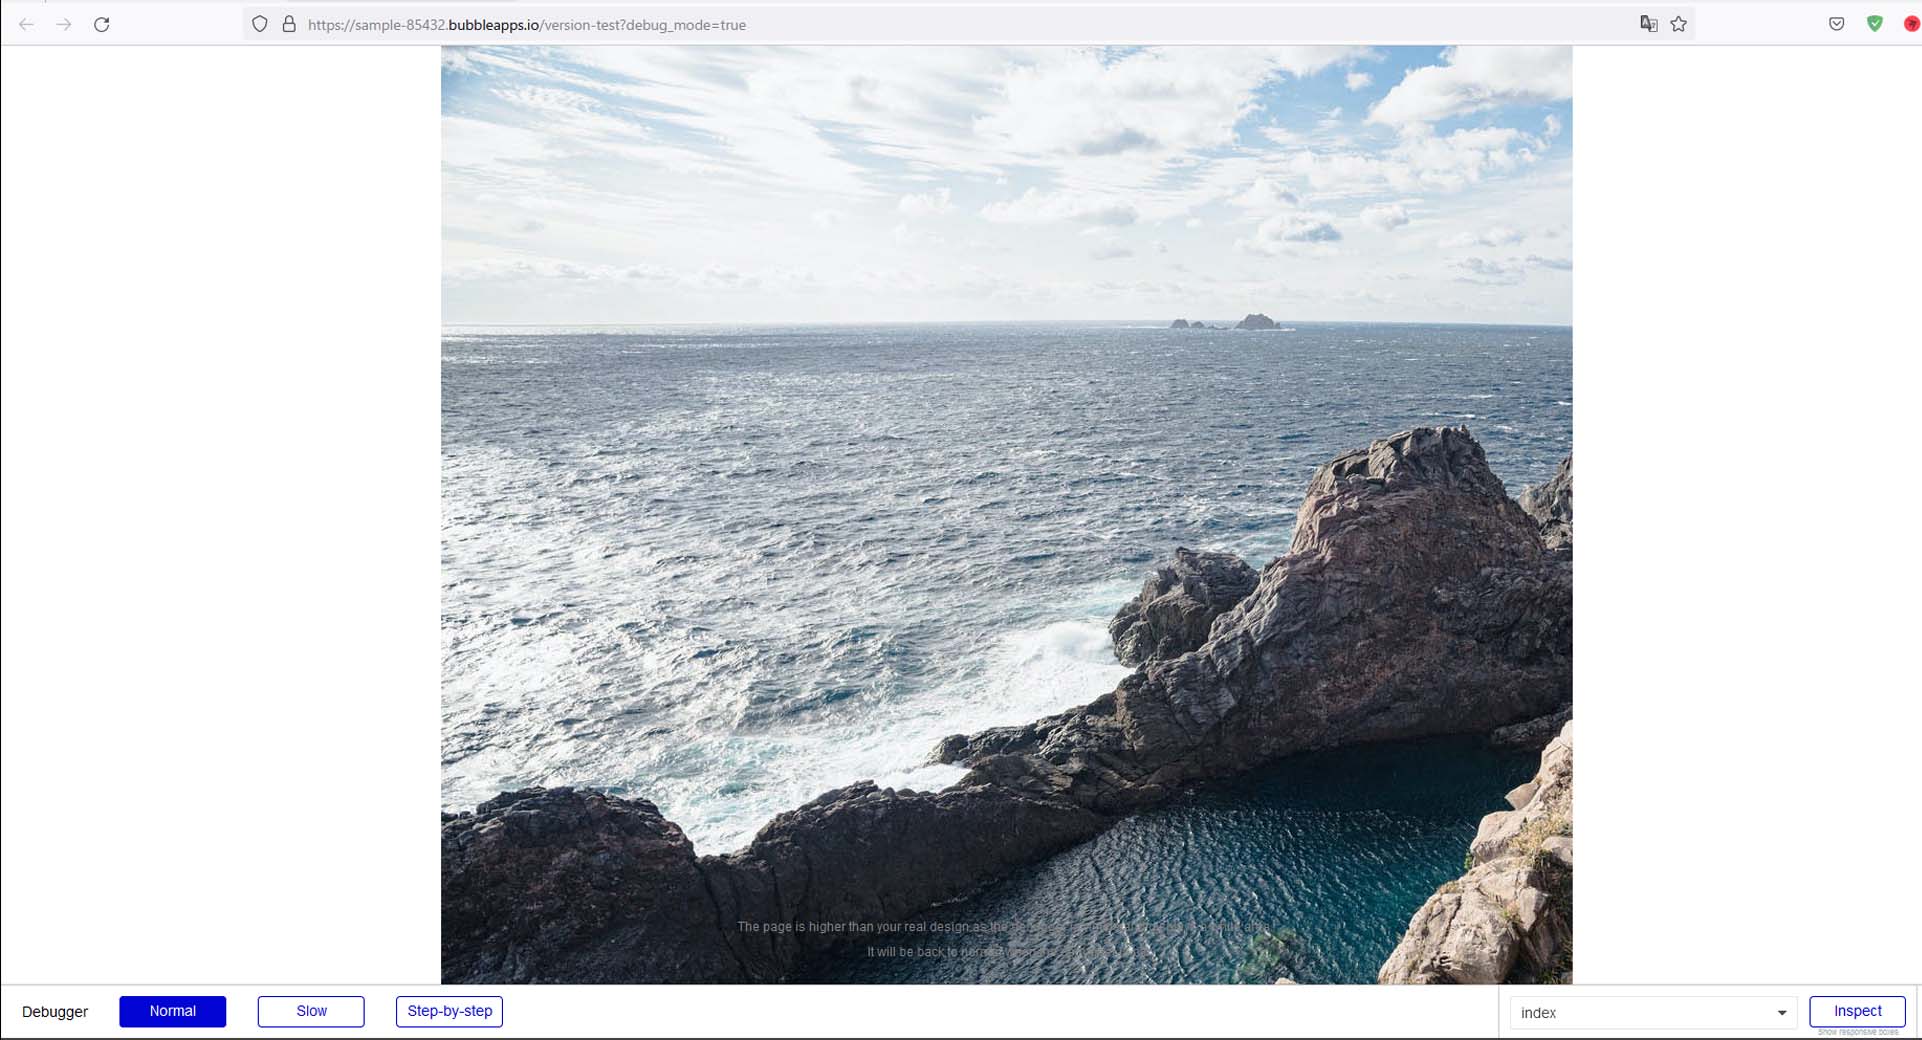
![Bubble_BackgroundStyle_StaticImage_Preview](https://katojishi.com/wp-content/uploads/2023/09/1-6-3.jpg)
![Bubble_BackgroundStyle_StaticImage_プレビュー画面](https://katojishi.com/wp-content/uploads/2023/09/1-7-3.jpg)
![Bubble_BackgroundStyle_StaticImage_Preview_挙動](https://katojishi.com/wp-content/uploads/2023/09/1-7-2.gif)
今回はここまで。
次回は背景画像の配置や繰り返しについて解説していきます。
コメント